This post contains affiliate links. As an Amazon Associate we earn from qualifying purchases, at no extra cost to you. Read our disclosure.
Key takeaways
- Pick the scarf before the knot: square silk for the pretzel, cowboy and scarf-ring ways; long oblong for the loop, sliding knot and infinity; wool rectangle for the once-around and the coat tuck.
- Every knot sits in one of two spots: at the collarbone (crew necks, turtlenecks, coats) or in the open V of a shirt or blazer. Decide the spot, then choose the knot.
- Three fixes cover most scarf problems after 40: fold a square into a flat band before you tie, keep the knot slightly off center, and leave the ends loose rather than tugging them tight.
- You need nothing but the scarf, though a scarf ring and one safety pin make two of the ways hold all day.
In this post11 sections
- Pick the Scarf Before the Knot
- What You Need
- How to Tie a Scarf Around Your Neck: The 10 Ways, Step by Step
- Which Knot for Which Neckline After 40
- Mistakes That Make a Scarf Look Fussy
- Variations: With a Shirt, for Work, for a Winter Coat
- 1. With a shirt: the open-collar sliding knot
- 2. For work: the scarf ring over a fine knit
- 3. For a winter coat: the coat tuck plus a loop
- Make the Scarf Part of a Formula
- FAQ
Scarf tutorials are everywhere, and most show one knot in a 12-second clip with no words. This guide is the written version: 10 ways, each with the scarf it needs, the steps in order and the neckline it flatters. Start with the scarf you own, find its section, and you will have three new ways to wear it by the end.
Pick the Scarf Before the Knot
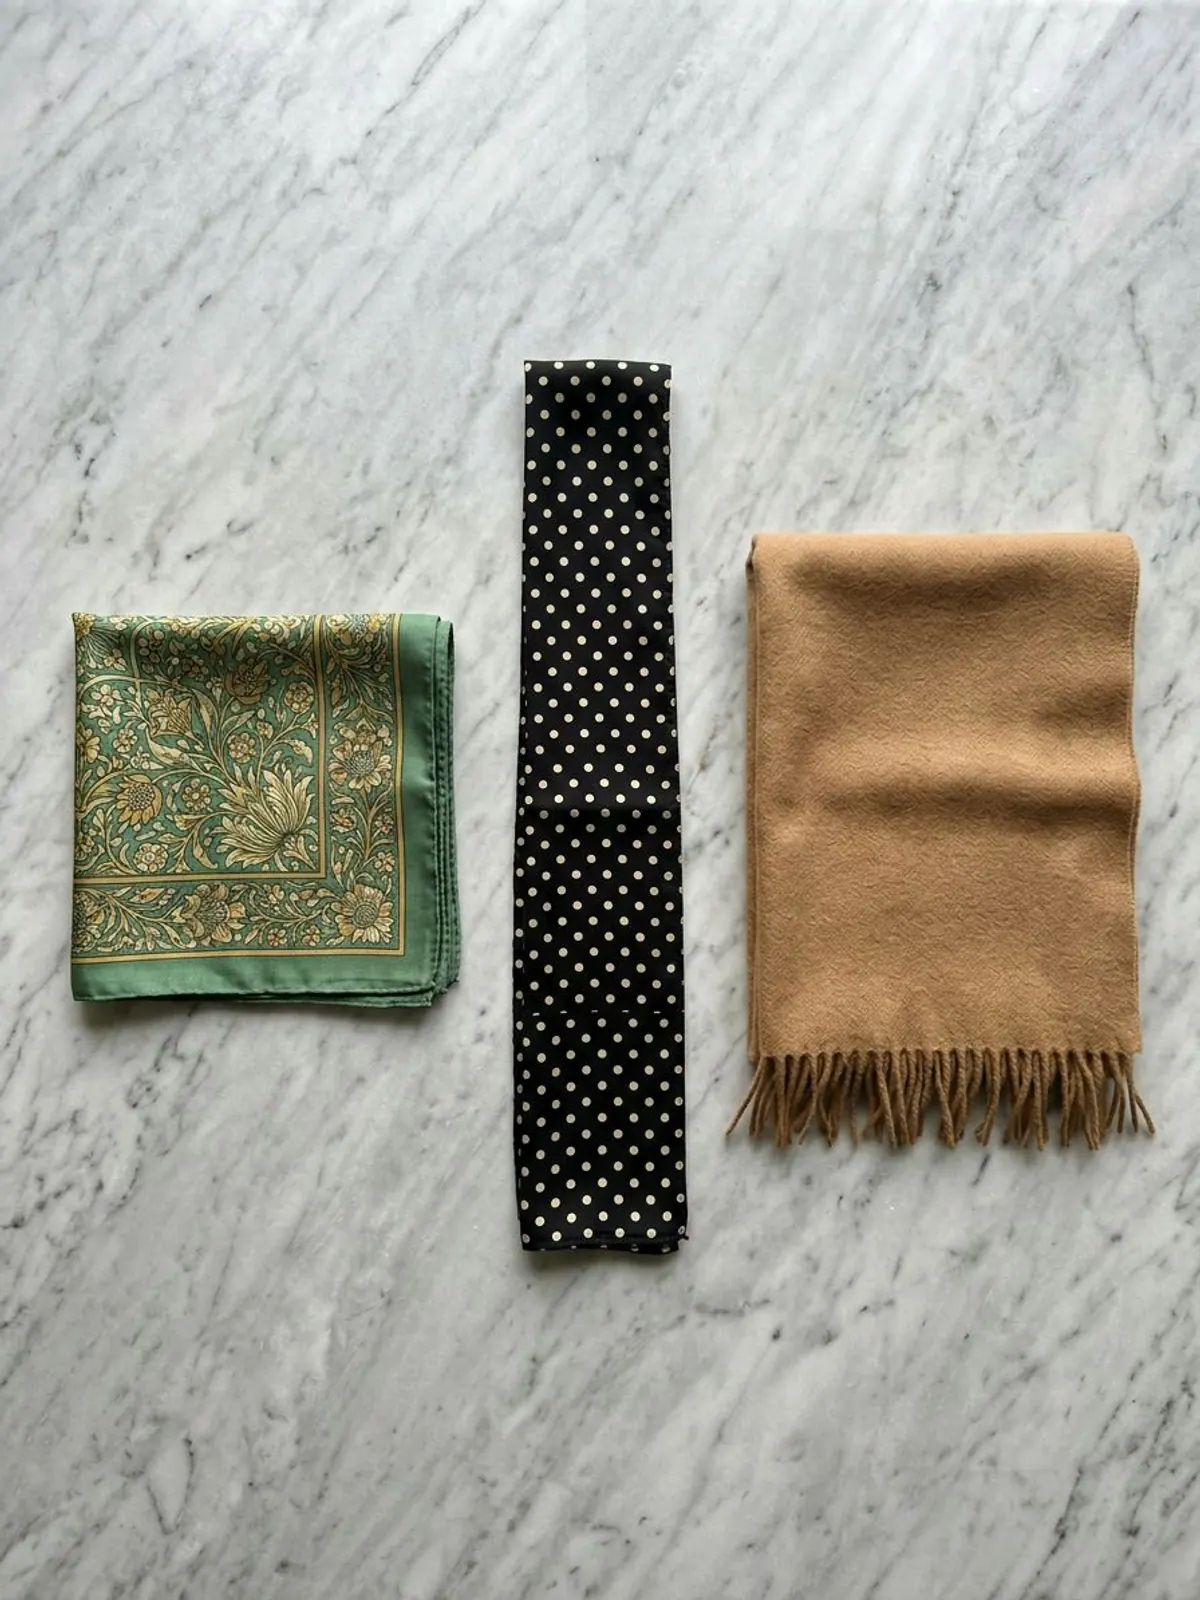
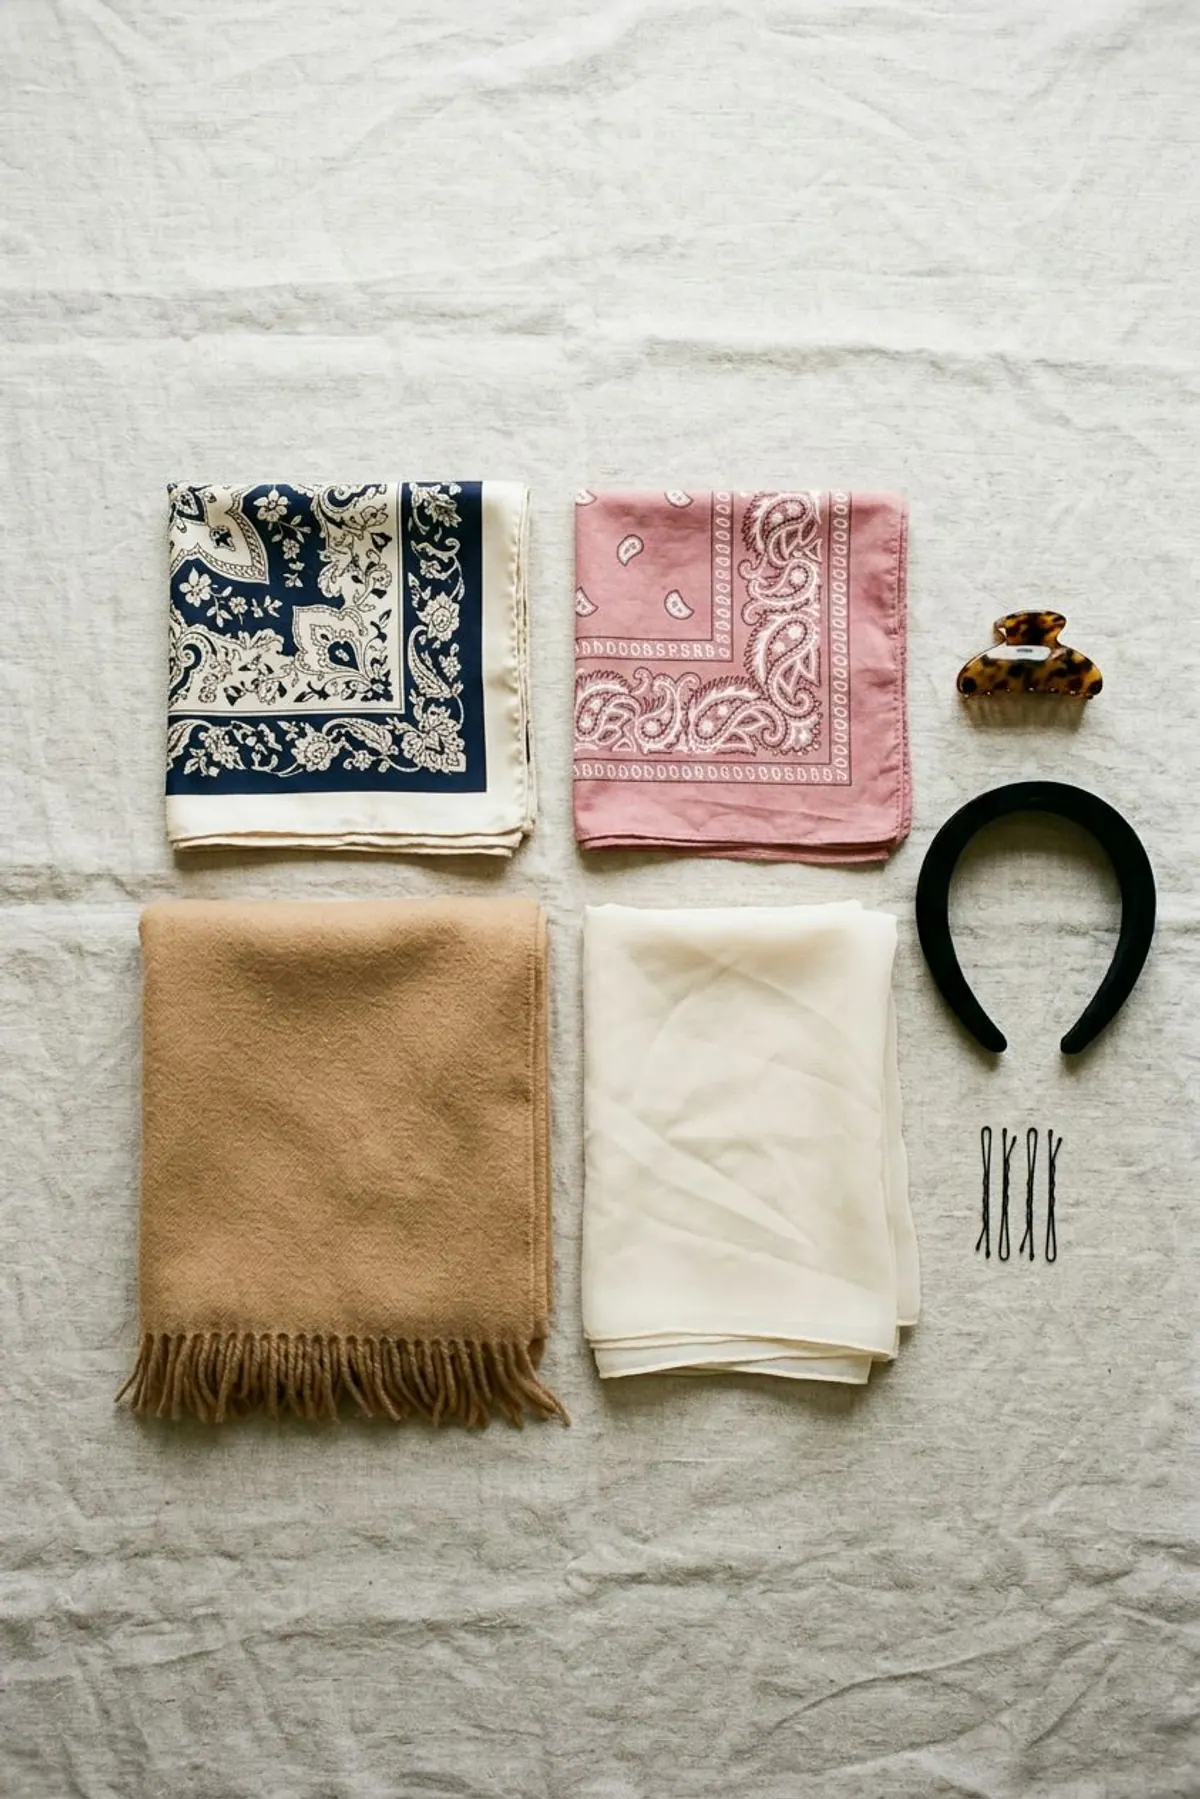
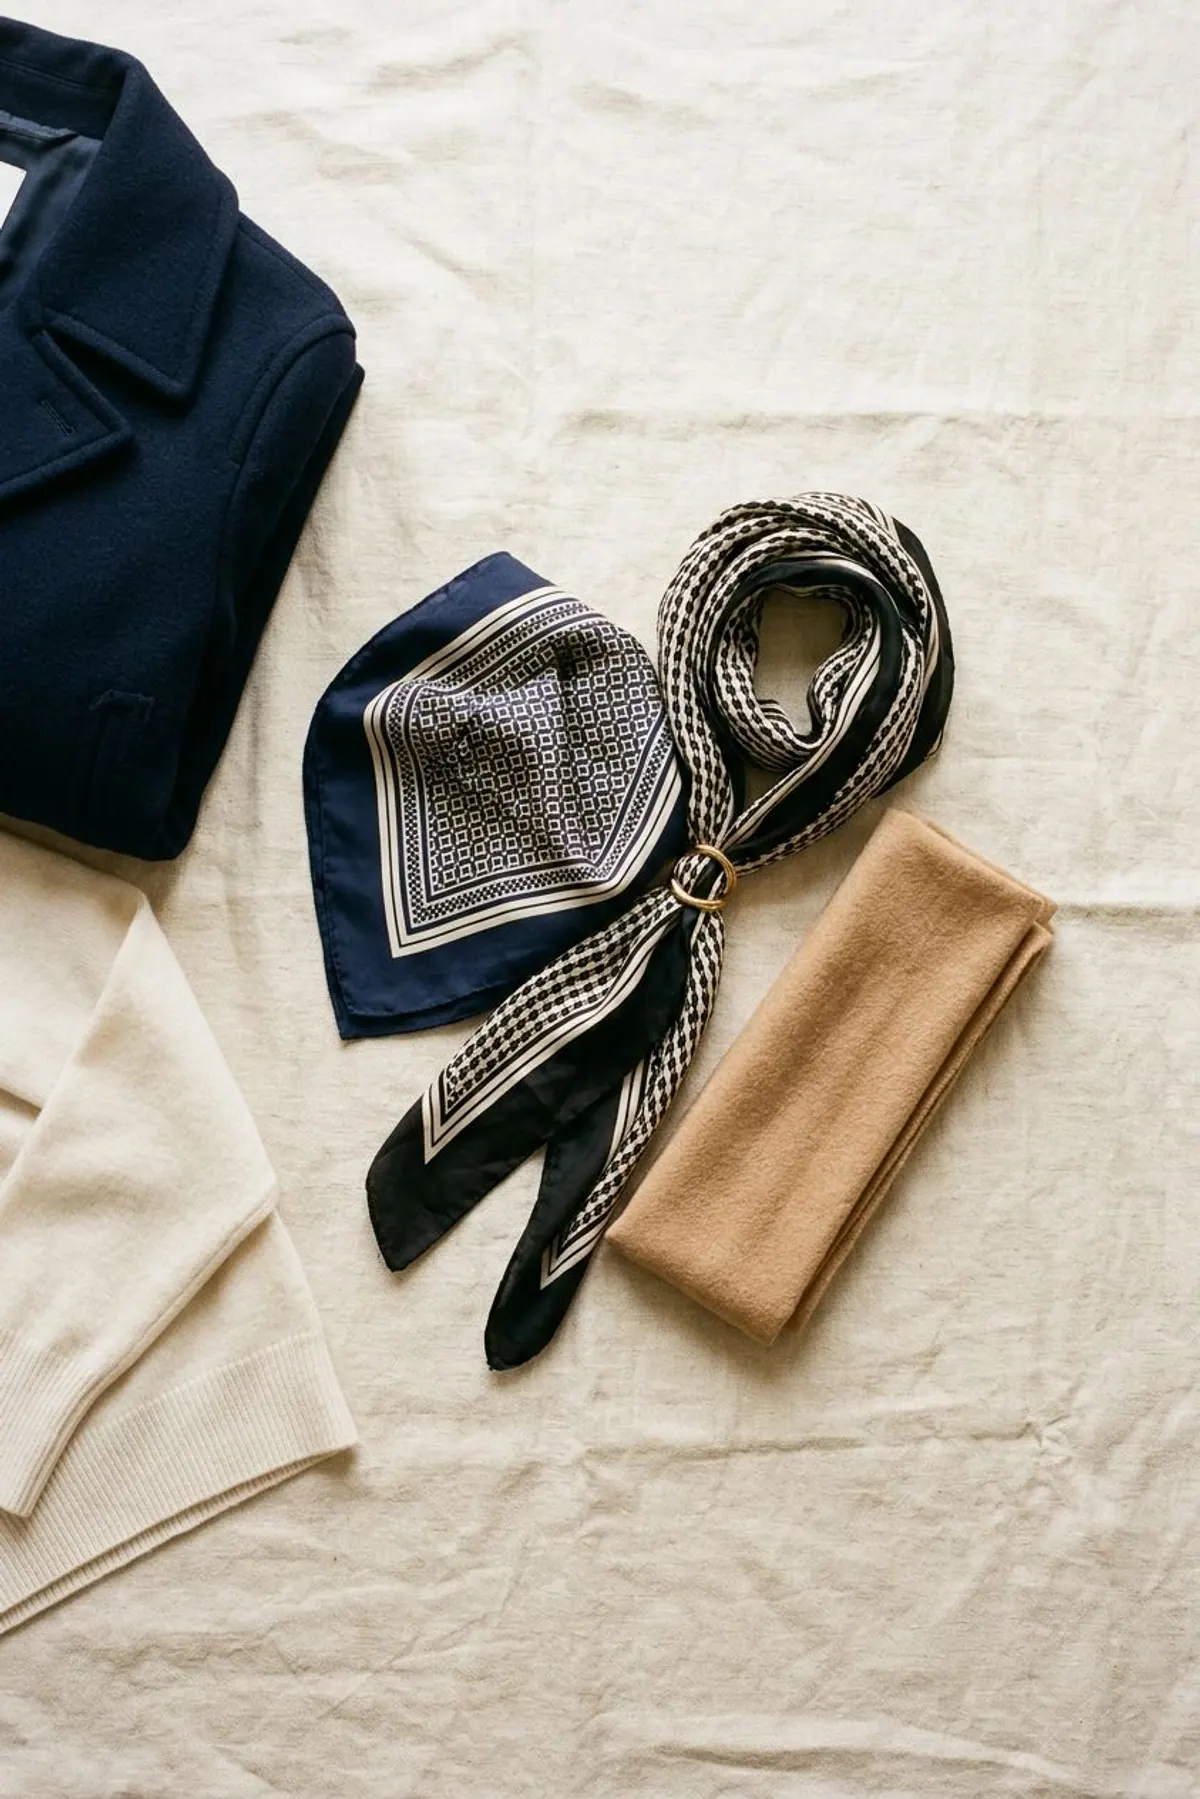
Most scarf frustration is a shape problem. A 35-inch silk square will not make a loop, and a 70-inch wool scarf will never tie a neat pretzel knot. Sort your scarves into the three shapes below and the right knots pick themselves.
| Shape | Typical size | Best ways | Skip |
|---|---|---|---|
| Square silk or satin | 27 to 36 inches square | Pretzel knot, cowboy knot, side bow, scarf ring | Infinity loop (too short) |
| Long oblong silk or modal | 10 to 14 by 60 to 80 inches | Simple drape, sliding knot, infinity loop, fake knot | Cowboy knot (wrong shape) |
| Wool, cashmere or blanket rectangle | 12 to 28 by 70 to 80 inches | Once-around loop, coat tuck, simple drape | Pretzel and bow (too thick) |
What You Need
What you need
- Start here
Square silk scarf, 35 inches
Typically $18 to $60
The pretzel, cowboy and scarf-ring ways all start with a square. Mulberry silk or a good satin both fold flat.
Check price on Amazon for Square silk scarf, 35 inches -
Long oblong silk or modal scarf
Typically $15 to $50
Makes the loop, sliding knot and infinity ways; a 70-inch length is the sweet spot.
Check price on Amazon for Long oblong silk or modal scarf -
Wool or cashmere scarf, 70 inches
Typically $25 to $120
Cold-weather ways need length and a little weight; lambswool or a cashmere blend drapes without bulk.
Check price on Amazon for Wool or cashmere scarf, 70 inches -
Scarf ring
Typically $8 to $25
Holds way 9 all day with no knot at all. Gold or tortoise reads best over 40.
Check price on Amazon for Scarf ring -
Small safety pins
Typically $4 to $9
One pin inside the coat tuck or under a bow keeps silk from sliding by lunch.
Check price on Amazon for Small safety pins
How to Tie a Scarf Around Your Neck: The 10 Ways, Step by Step
The ways run from easiest to most involved within each shape. Each one takes under a minute once you have done it twice. Ways 1 to 4 use the square, 5 to 8 use the long oblong, and 9 and 10 are the cold-weather pair for the wool rectangle.
-
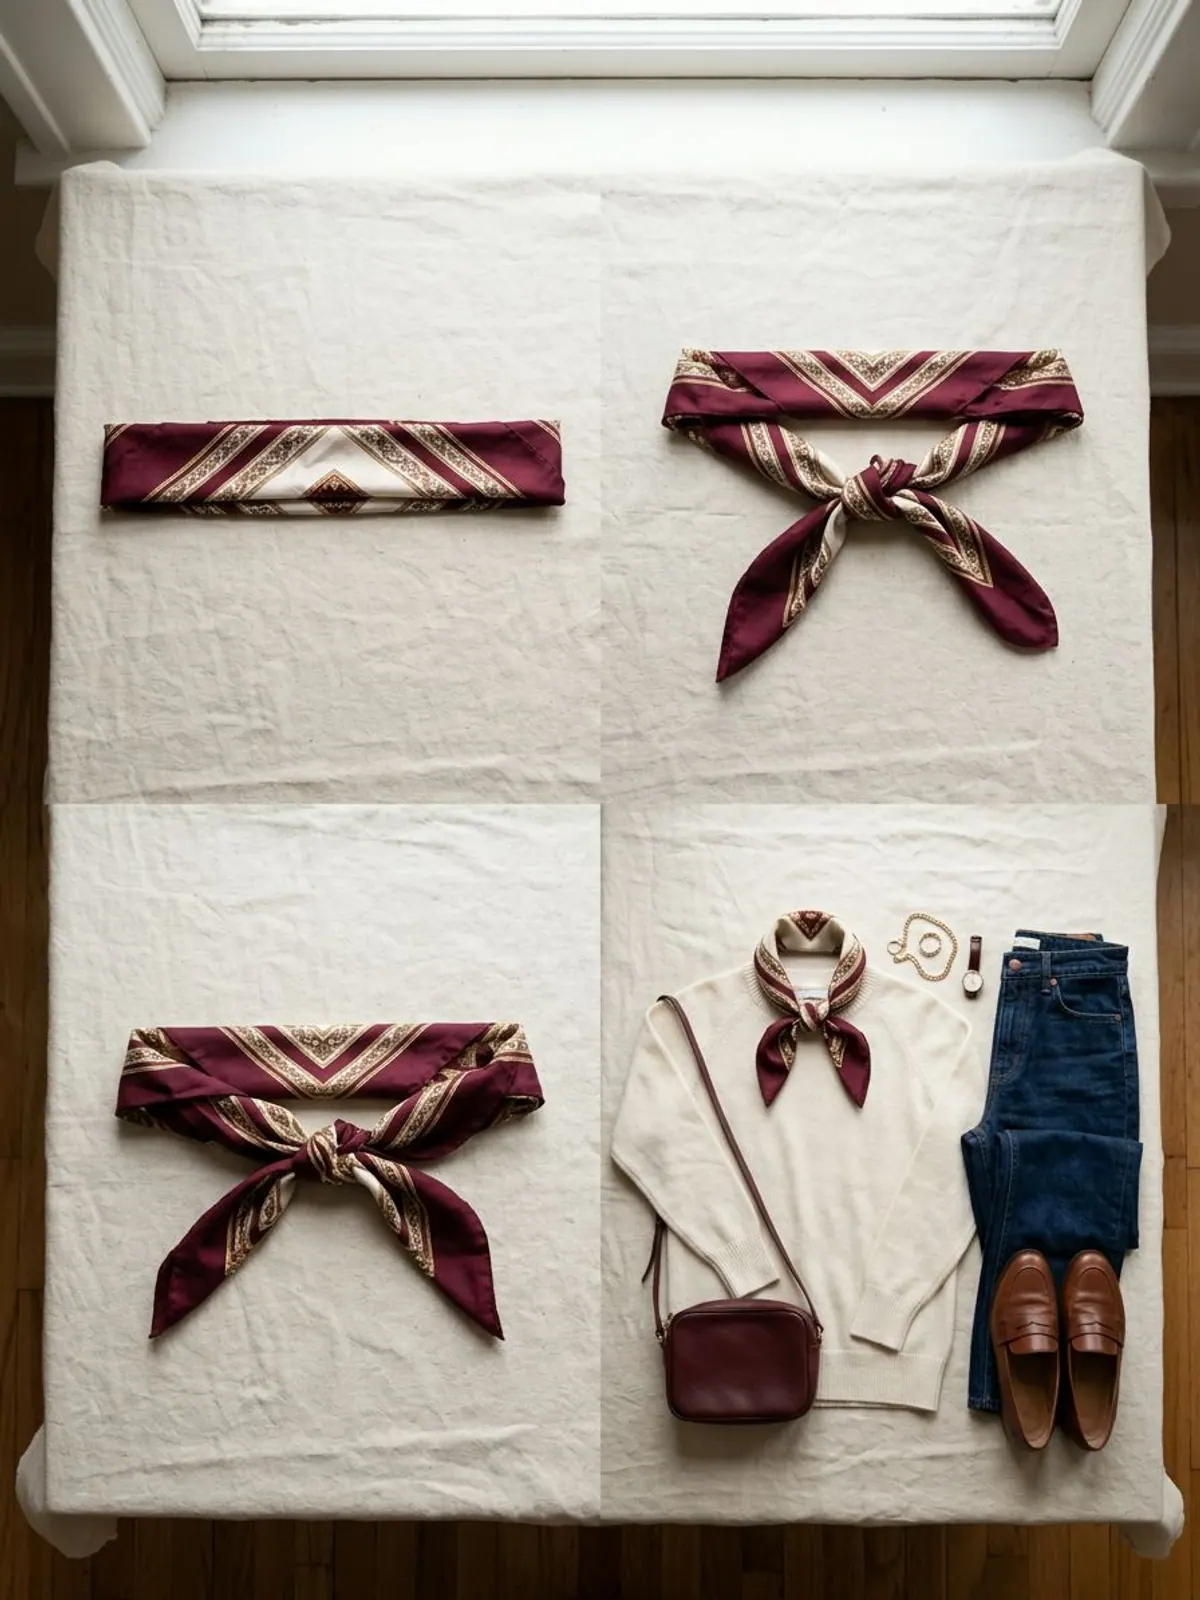
Step 1: Way 1: The side bow (square silk)
Fold the square into a 2-inch band. Lay the middle of the band at the front of your neck, cross the ends at the back and bring them forward over one shoulder.
Tie a single knot, then a small bow, and pull the loops until they are no wider than your collarbone. A bow under the ear, not under the chin, is the version that reads polished after 40.
-
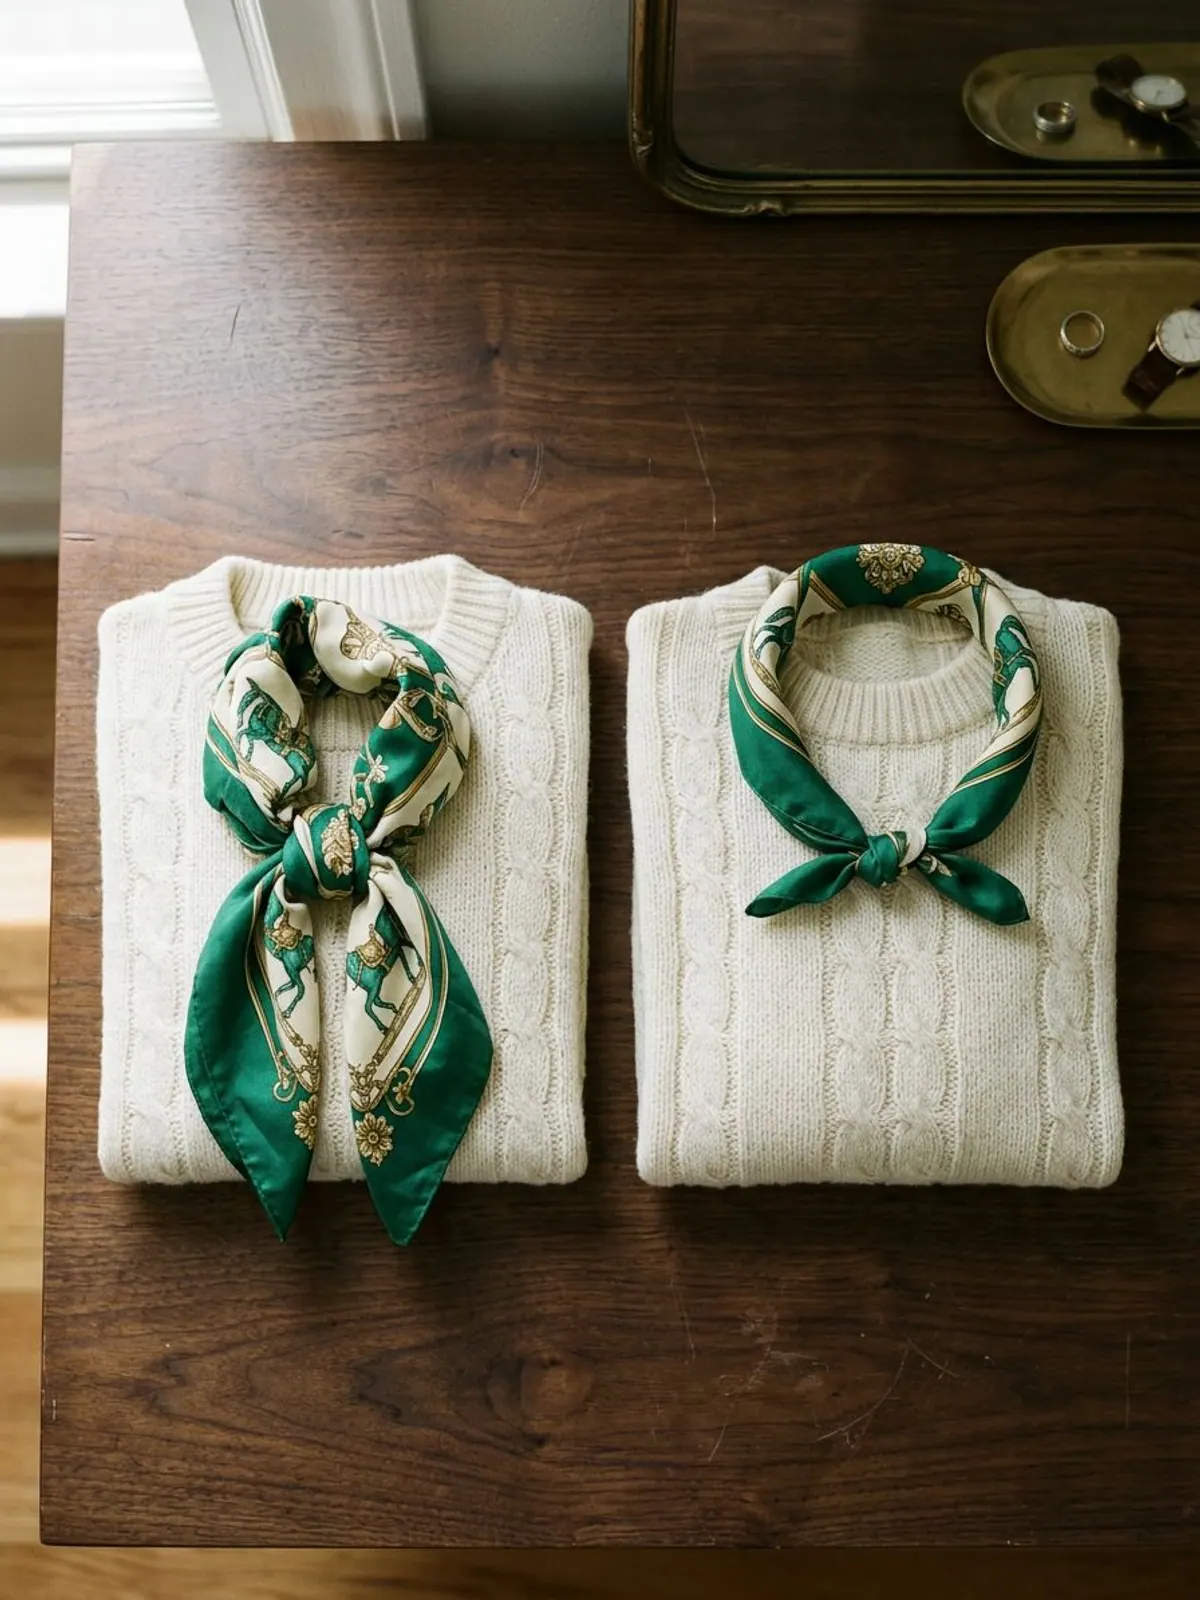
Step 2: Way 2: The pretzel knot (square silk)
Fold the square into a band. Tie a loose single knot in the middle of the band and leave it slack enough to fit two fingers.
Place the knot at the front of your neck, cross the ends behind and bring them forward. Thread one end down through the loose knot from the top and the other end up through it from below, then tighten gently until the knot sits flat against your collarbone.
-
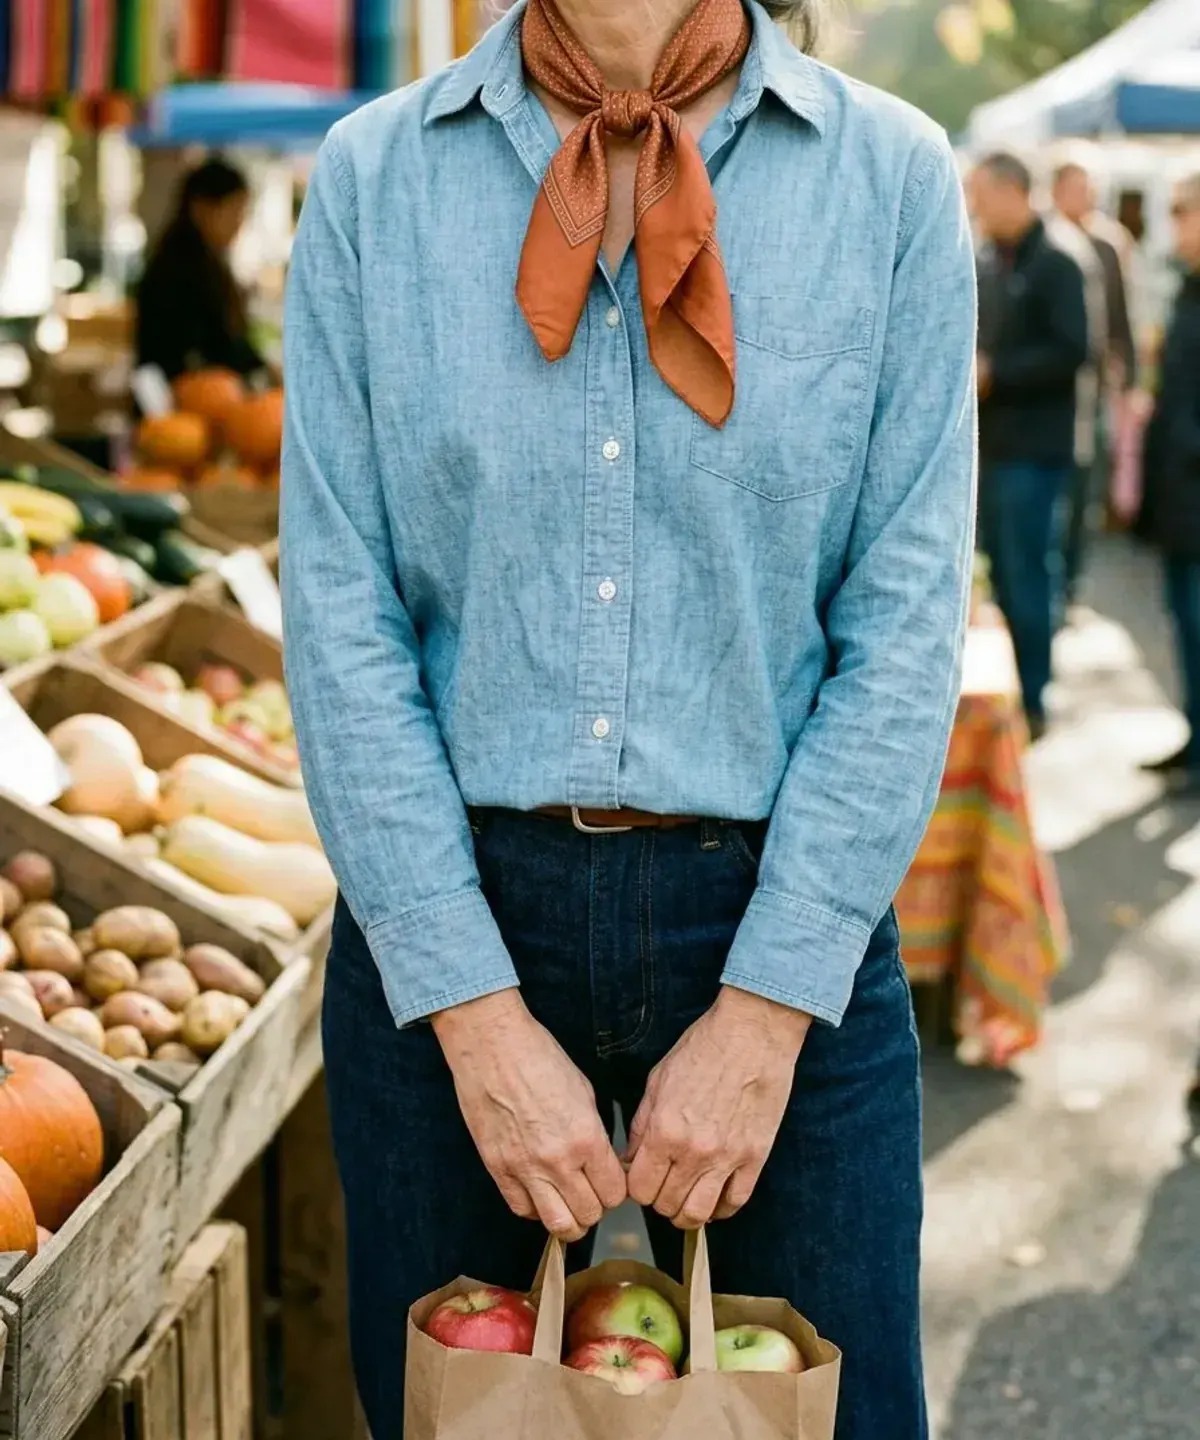
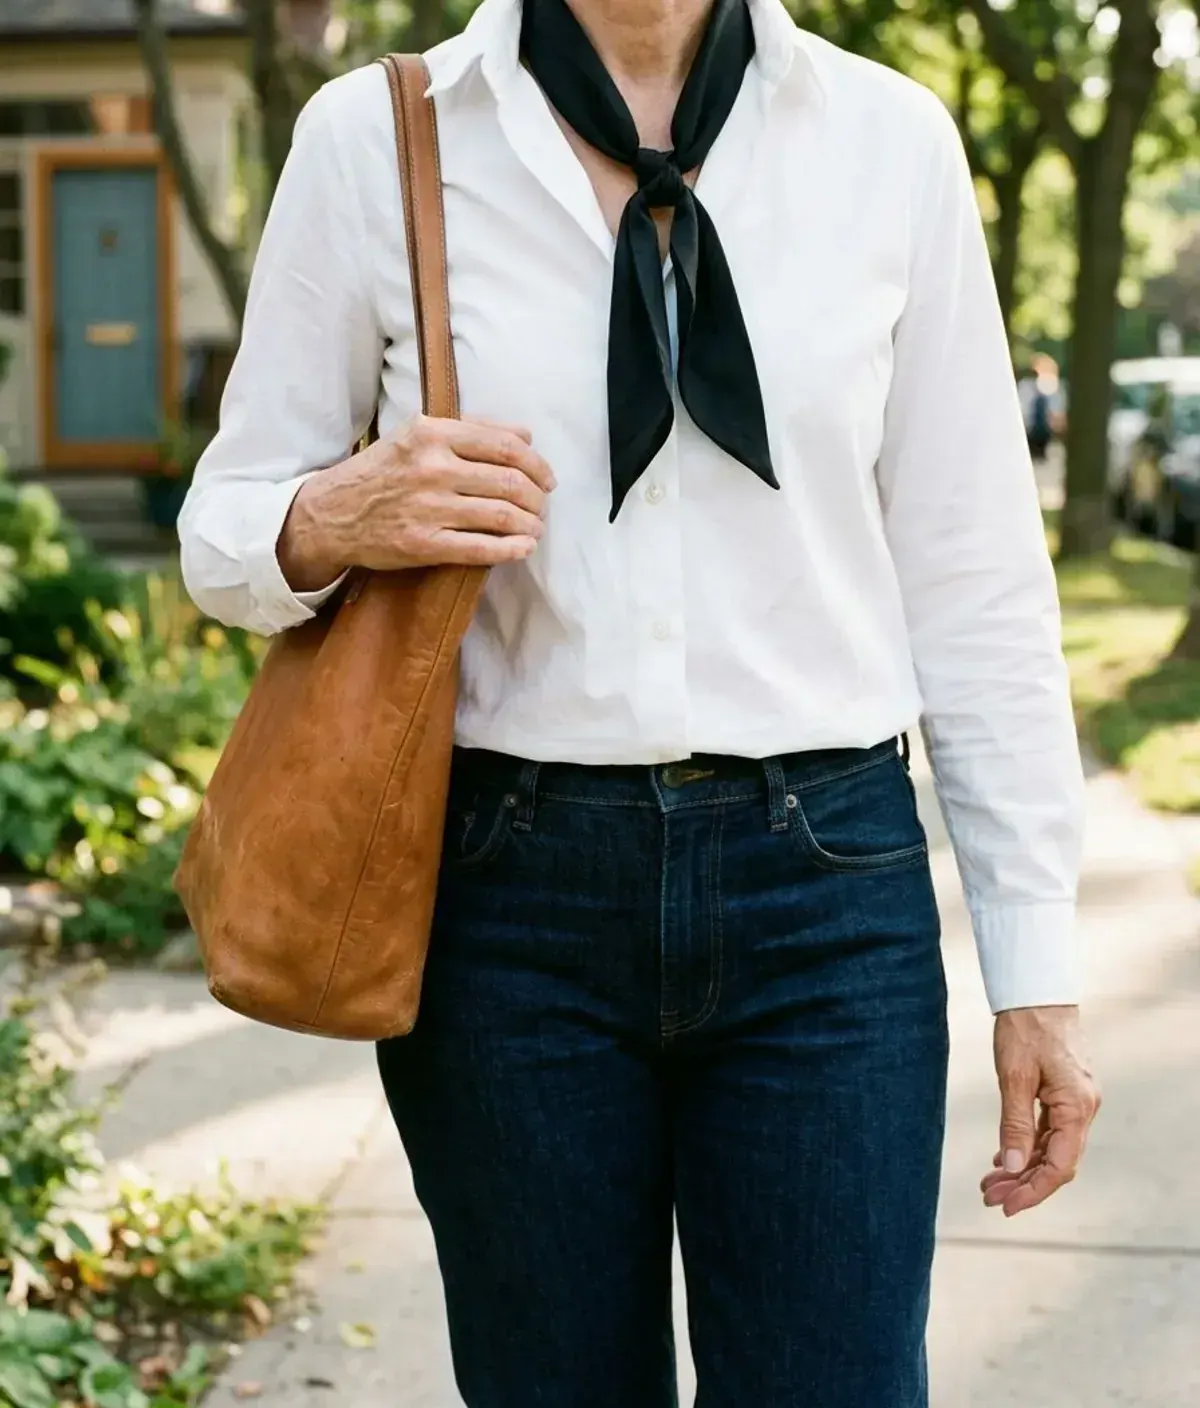
Step 3: Way 3: The cowboy knot (square silk or bandana)
Fold the square in half diagonally so the point hangs at the front. Hold the two long ends and bring them around to the back of your neck.
Tie a double knot at the back and tuck the ends under the triangle, or bring the ends back to the front and tie them over the point for the Western version shown here. Smooth the point so it sits flat over a shirt or a crew neck. Keep the triangle small; a 27-inch square gives the neatest result.
-
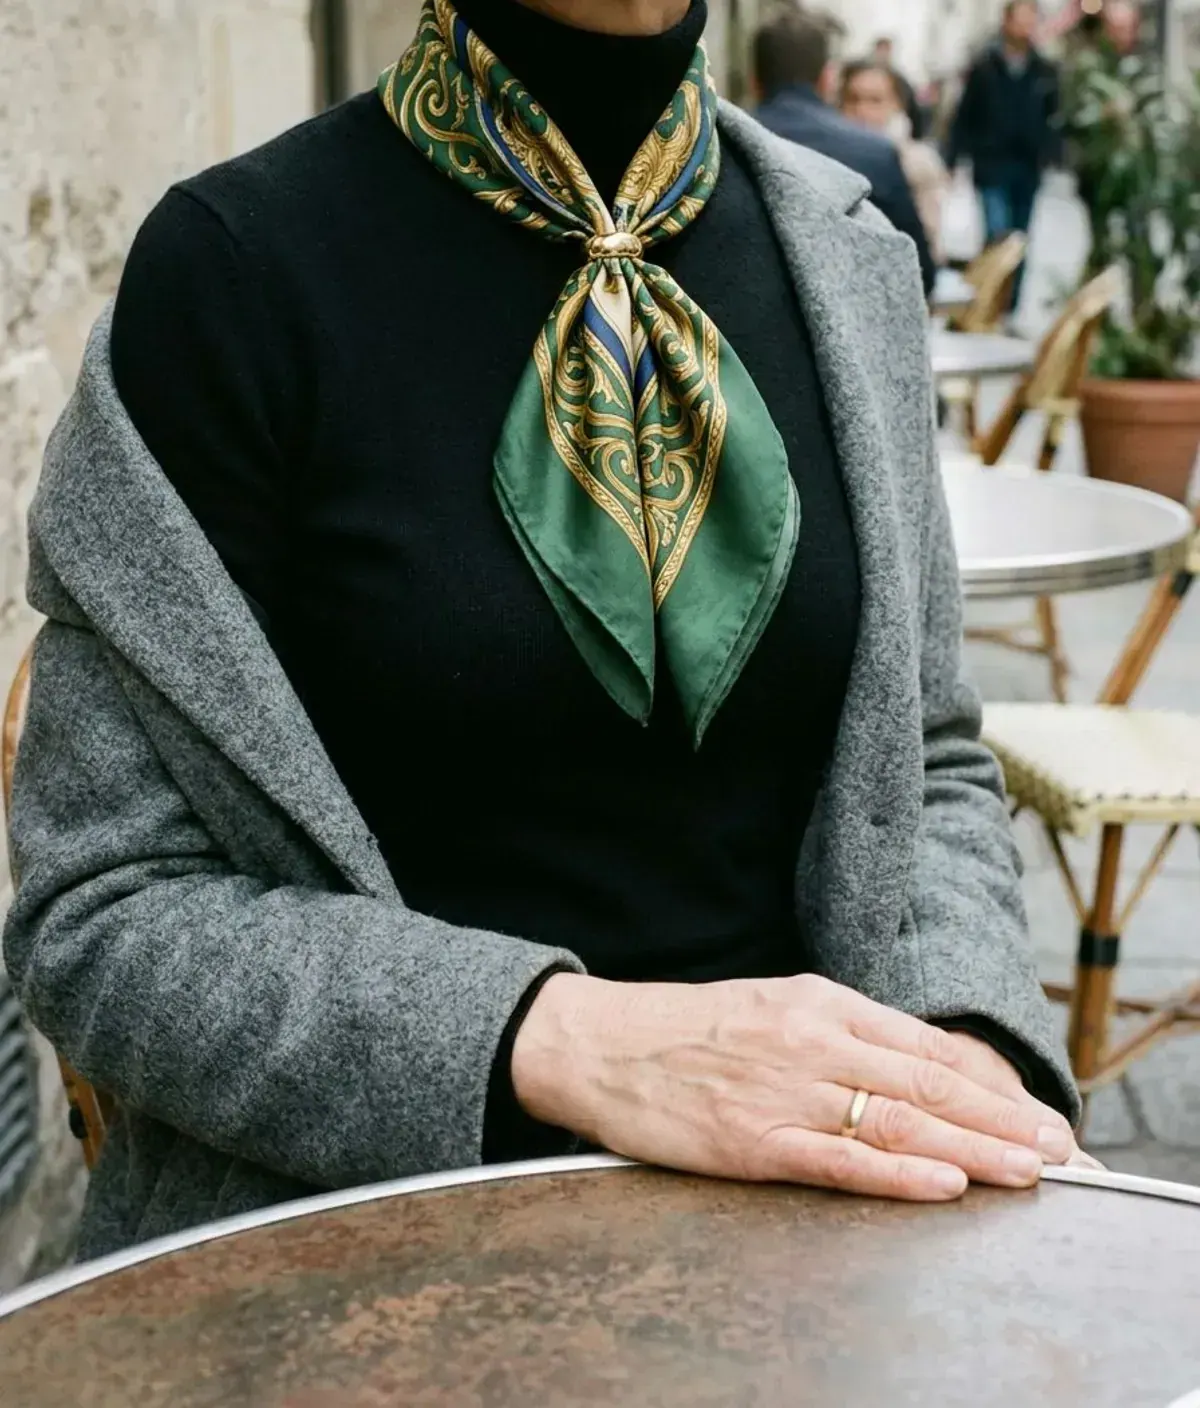
Step 4: Way 4: The scarf ring (square silk)
Fold the square into a band and drape it around your neck with the ends even. Pass both ends through the scarf ring together and slide the ring up to the hollow of your throat.
Fan the two ends below the ring so the print shows. For a looser look, slide the ring down 3 or 4 inches. No knot, no creases, and it holds all day.
-
Step 5: Way 5: The simple drape (long oblong, any fabric)
Hang the scarf around your neck with one end slightly longer than the other. Do nothing else.
Wear it under an open blazer or coat so the lapels hold it in place. This is the way to wear a long skinny silk scarf with a shirt; the print lies flat and the ends never bunch.
-
Step 6: Way 6: The sliding knot (long oblong silk)
Drape the scarf with one end about 10 inches longer than the other. Wrap the long end once around the short end, close to your neck, and pass it up through the loop you just made, exactly like the first half of a necktie knot.
Slide the knot down 2 to 3 inches so it sits in the open collar of a shirt. Leave the ends uneven; even ends look like a uniform.
-
Step 7: Way 7: The infinity loop (long oblong)
Tie the two ends of the scarf together with a small double knot. Put the loop over your head, then twist it once and put the second loop over your head.
Turn the loop until the knot hides at the back of your neck. Pull the front slightly looser than the back. This is the warmest way to wear a thin scarf because it doubles the fabric at your throat.
-
Step 8: Way 8: The fake knot (long oblong)
Tie a loose single knot in one end of the scarf, about 8 inches from the tip. Drape the scarf around your neck with the knot at the front.
Feed the other end down through the knot and pull until the knot sits at your collarbone. Keep it loose. The result looks like a knot without the bulk of one, and it stays put under a coat.
-
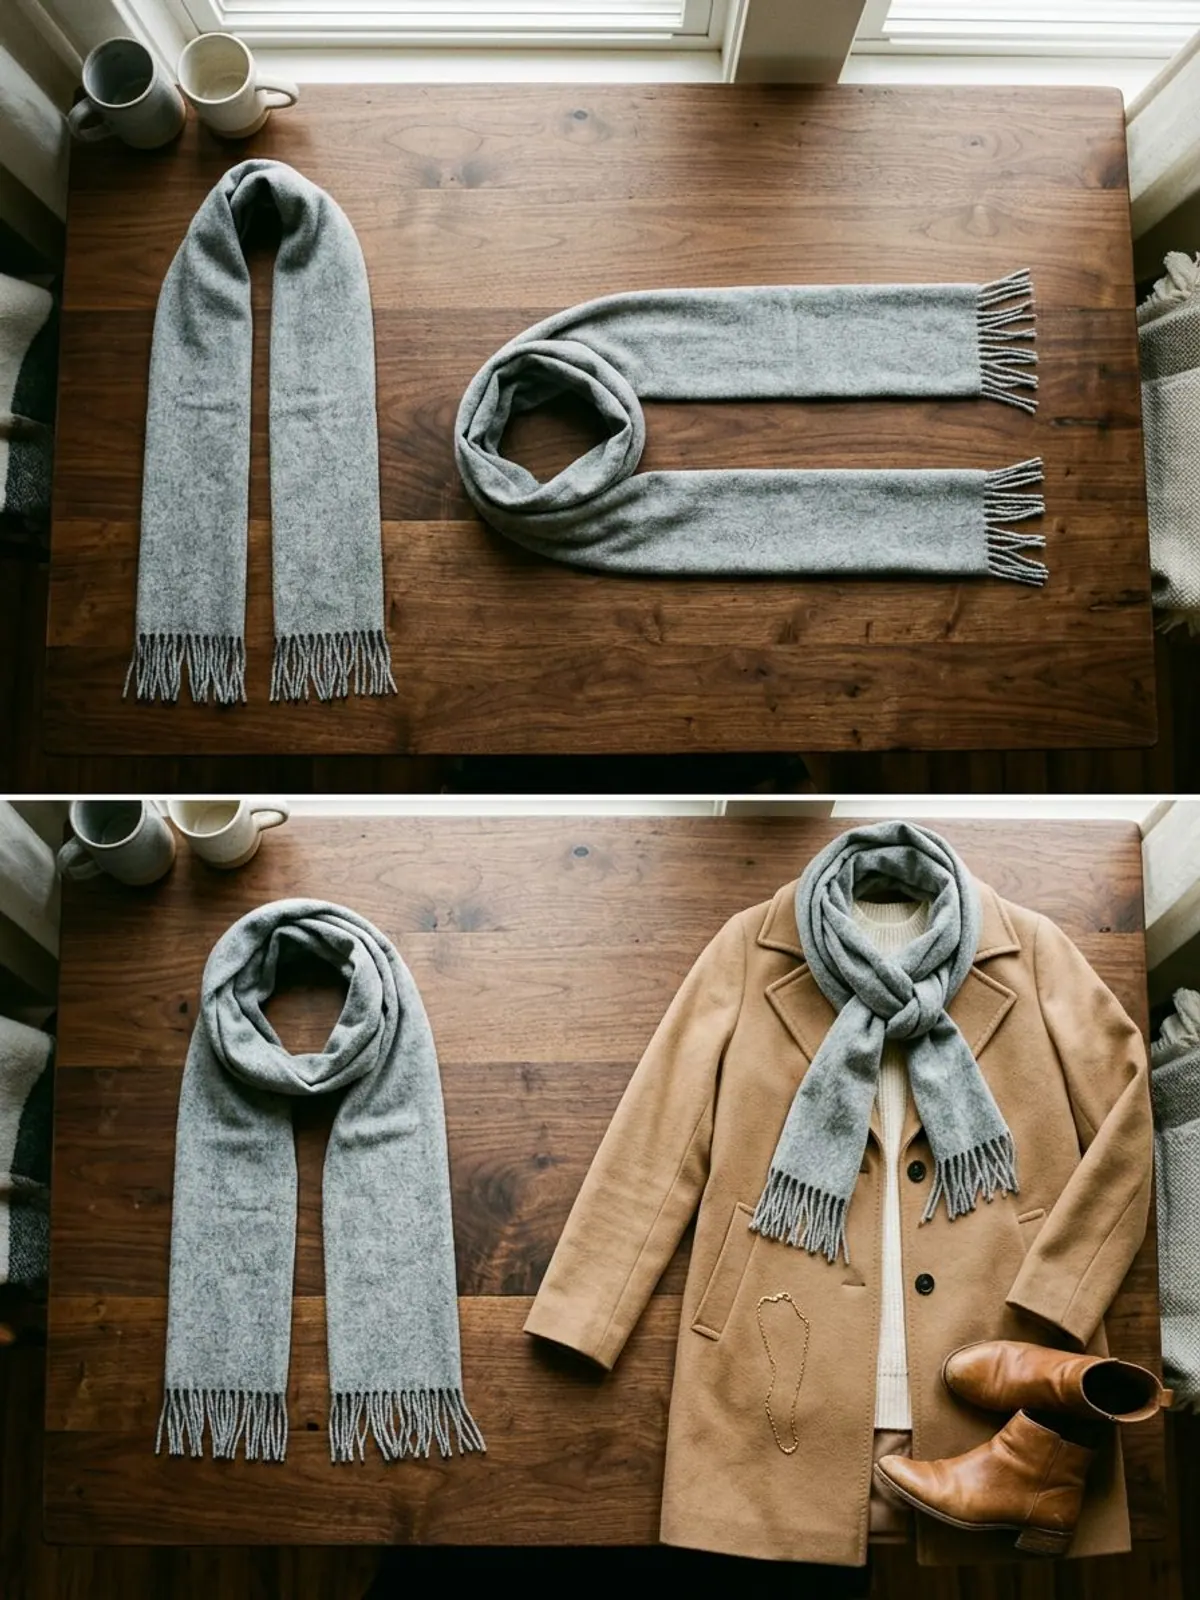
Step 9: Way 9: The once-around loop (wool rectangle)
Fold the wool scarf in half lengthwise so the two ends meet. Drape it around your neck with the folded loop on one side and the two ends on the other.
Pull both ends through the loop and tighten until the scarf sits snug but not tight. For a flatter look, pull only one end through, then the second end through the loop the first end made.
-
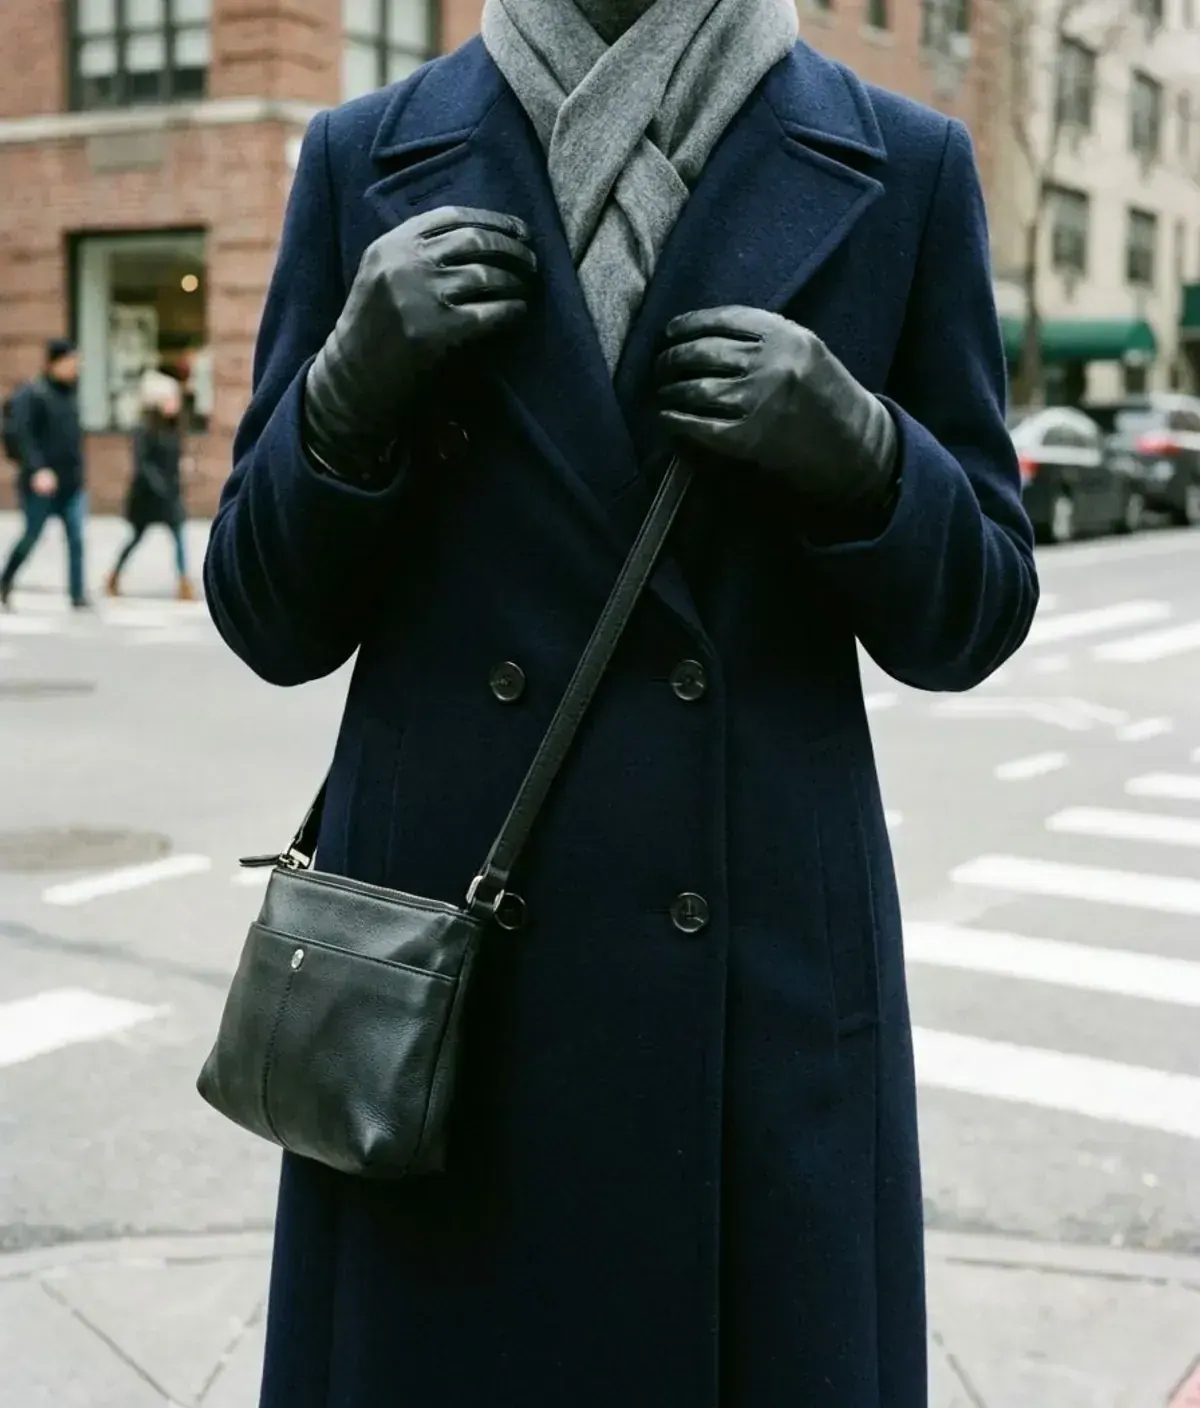
Step 10: Way 10: The coat tuck (wool rectangle)
Fold the scarf in half lengthwise so it is narrow. Drape it around your neck, cross the ends over each other at the front and lay each end flat down your chest.
Button or belt the coat over the crossed scarf so the lapels hold it in place. Pin the cross point inside the coat if the wool is slippery. This is the only way that keeps a scarf flat under a fitted coat.

Which Knot for Which Neckline After 40
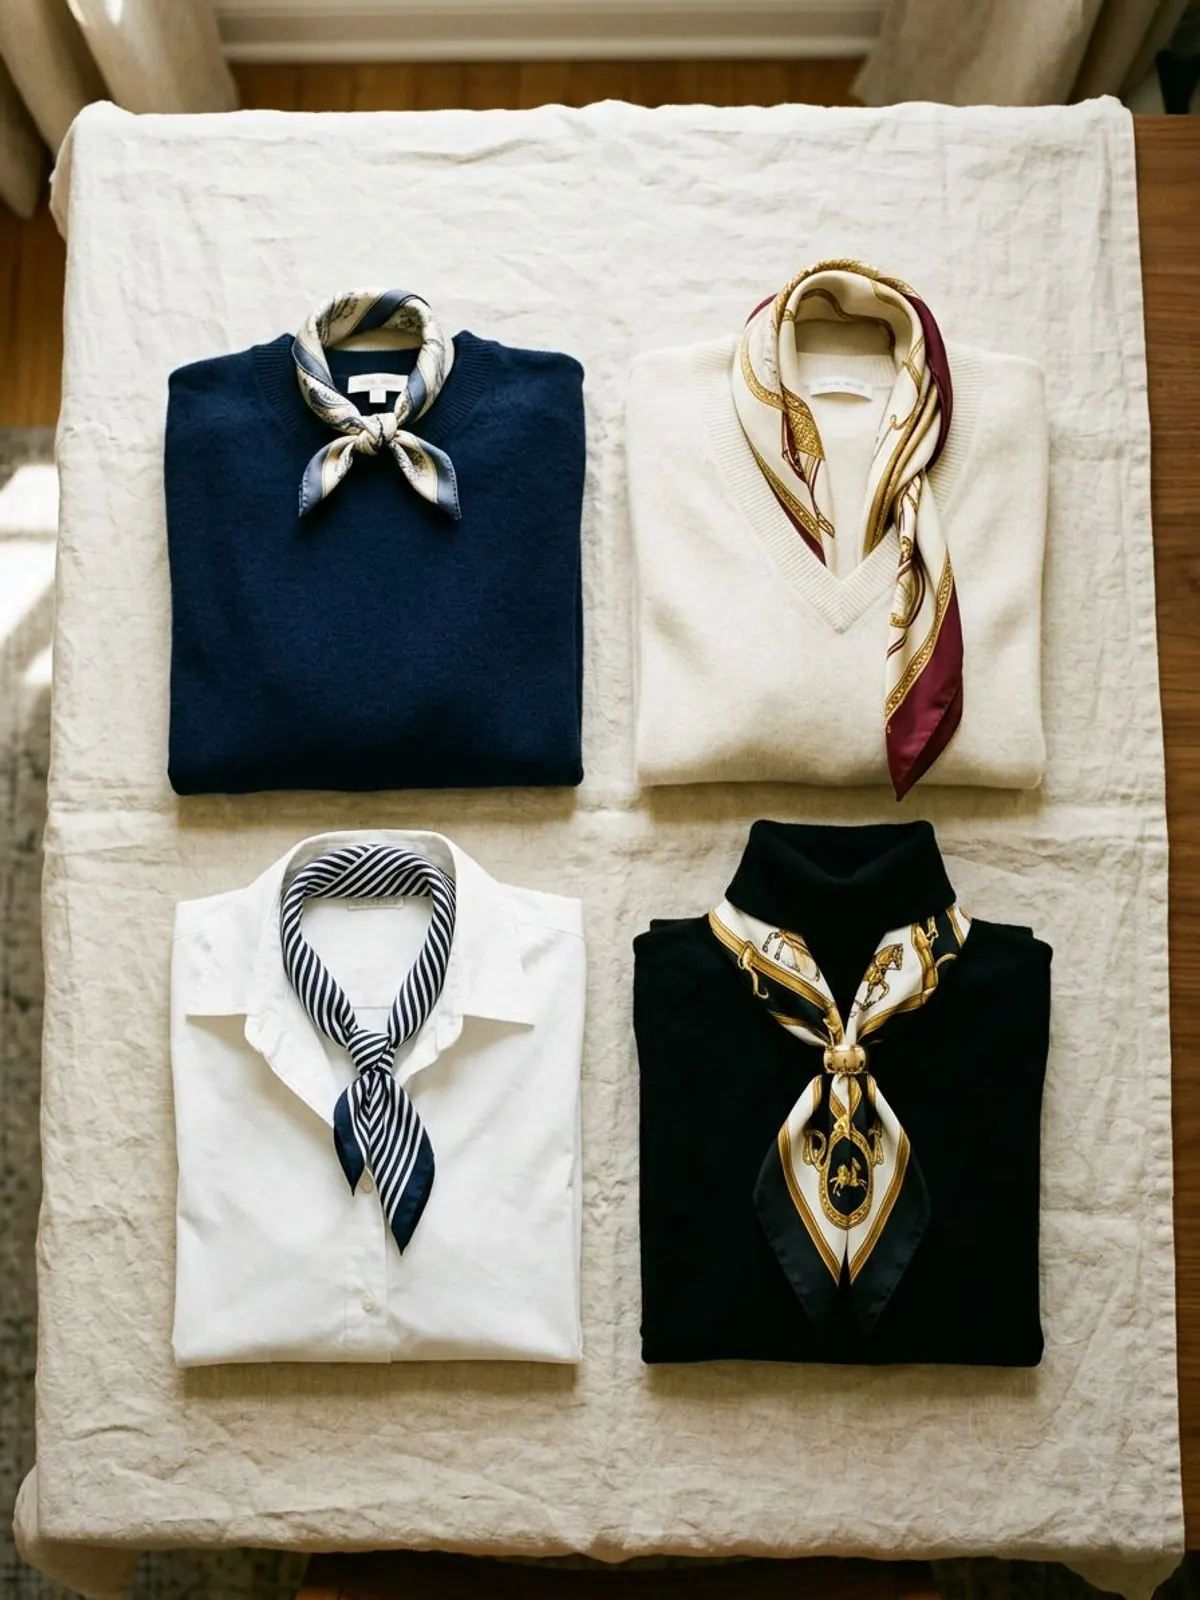
The neckline does half the work. A closed neckline (crew, turtleneck, coat collar) wants a knot that sits at the collarbone. An open neckline (shirt, V-neck, blazer) wants a way that hangs into the V so the scarf fills the space instead of fighting it.
| Neckline | Use these ways | Why |
|---|---|---|
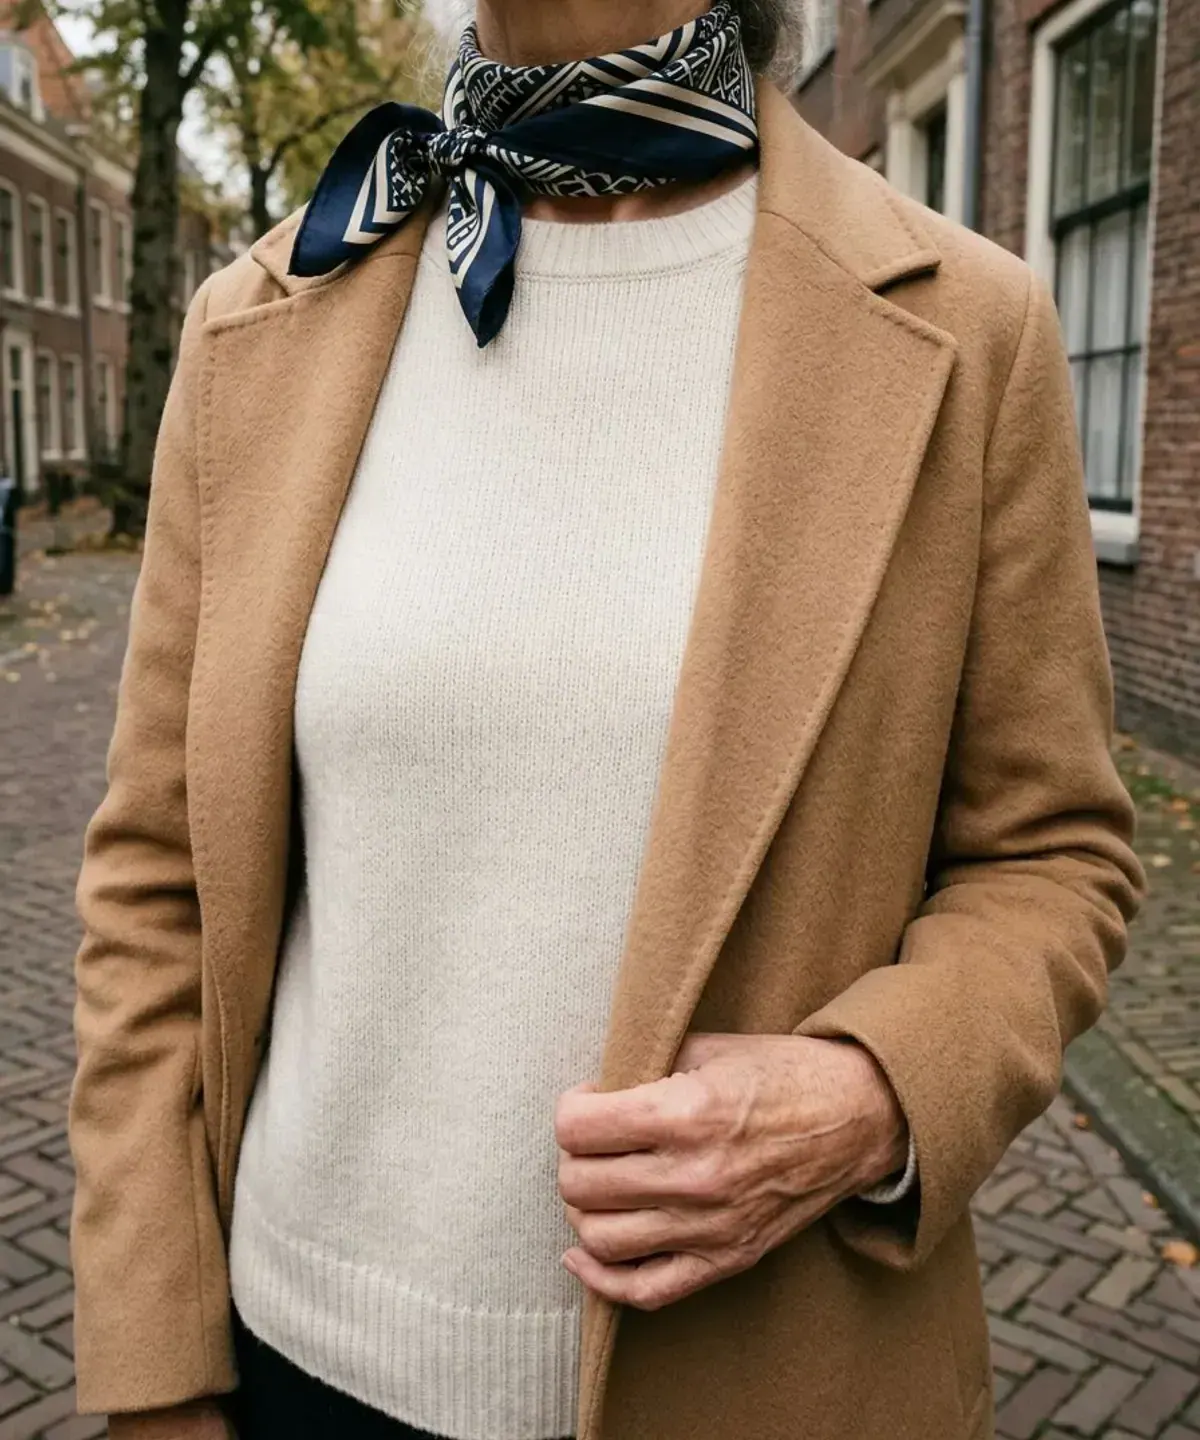
| Crew neck or fine knit | Pretzel knot, side bow, scarf ring, fake knot | A small knot at the collarbone adds a focal point above a plain top |
| Turtleneck | Scarf ring, cowboy knot, simple drape | Anything thick doubles the bulk; keep it flat |
| Button-down shirt | Sliding knot, cowboy knot, simple drape | The knot lives in the open collar; the drape lies under it |
| V-neck or blazer | Simple drape, infinity loop (loose), fake knot | Hanging ways fill the V without covering the neckline |
| Coat or jacket | Coat tuck, once-around loop, fake knot | Flat ways under lapels; the loop over a collarless coat |
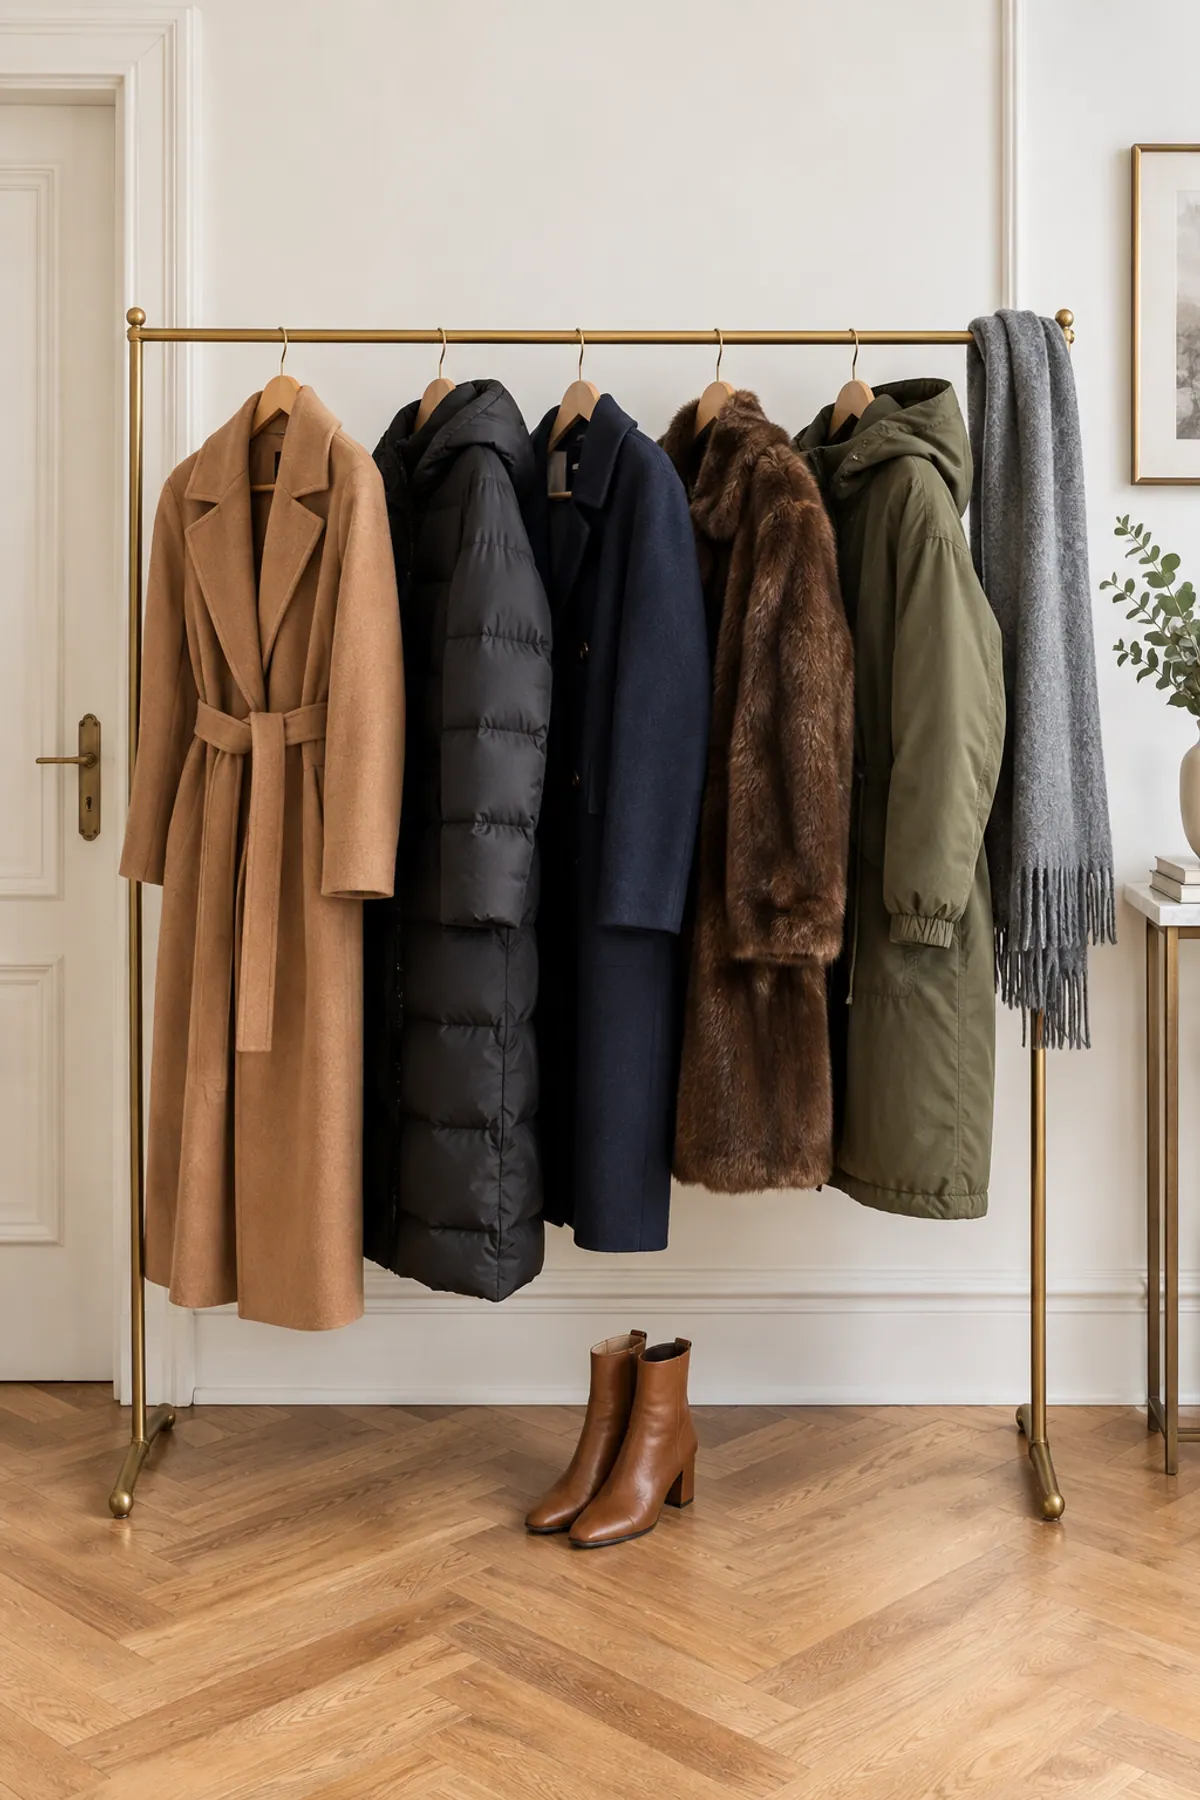
If you are building a cold-weather wardrobe around these ways, the winter accessories guide covers which scarf weights go with which coat, and the winter coats guide shows the collar shapes that leave room for a knot.
Mistakes That Make a Scarf Look Fussy
What we like
- Fold squares into a flat band before tying
- Keep knots small and slightly off center
- Leave the ends loose and uneven
- Match the knot to the neckline, not the other way around
- One scarf, one focal point: skip the statement necklace that day
- Press silk on low heat before wearing; creases show at the neck
Keep in mind
- Tying a square straight from the fold, which makes a lump
- Pulling every knot tight under the chin
- Ends cut to the same length, which reads as a uniform
- A thick wool knot over a turtleneck
- Scarf, necklace and earrings all competing at the collarbone
- A bow tied dead center under the chin
The off-center rule matters more after 40 than it did at 25. A knot sitting a few inches to one side draws the eye up and across, which is the same trick a French-style wardrobe uses with a collar or a brooch.
Variations: With a Shirt, for Work, for a Winter Coat
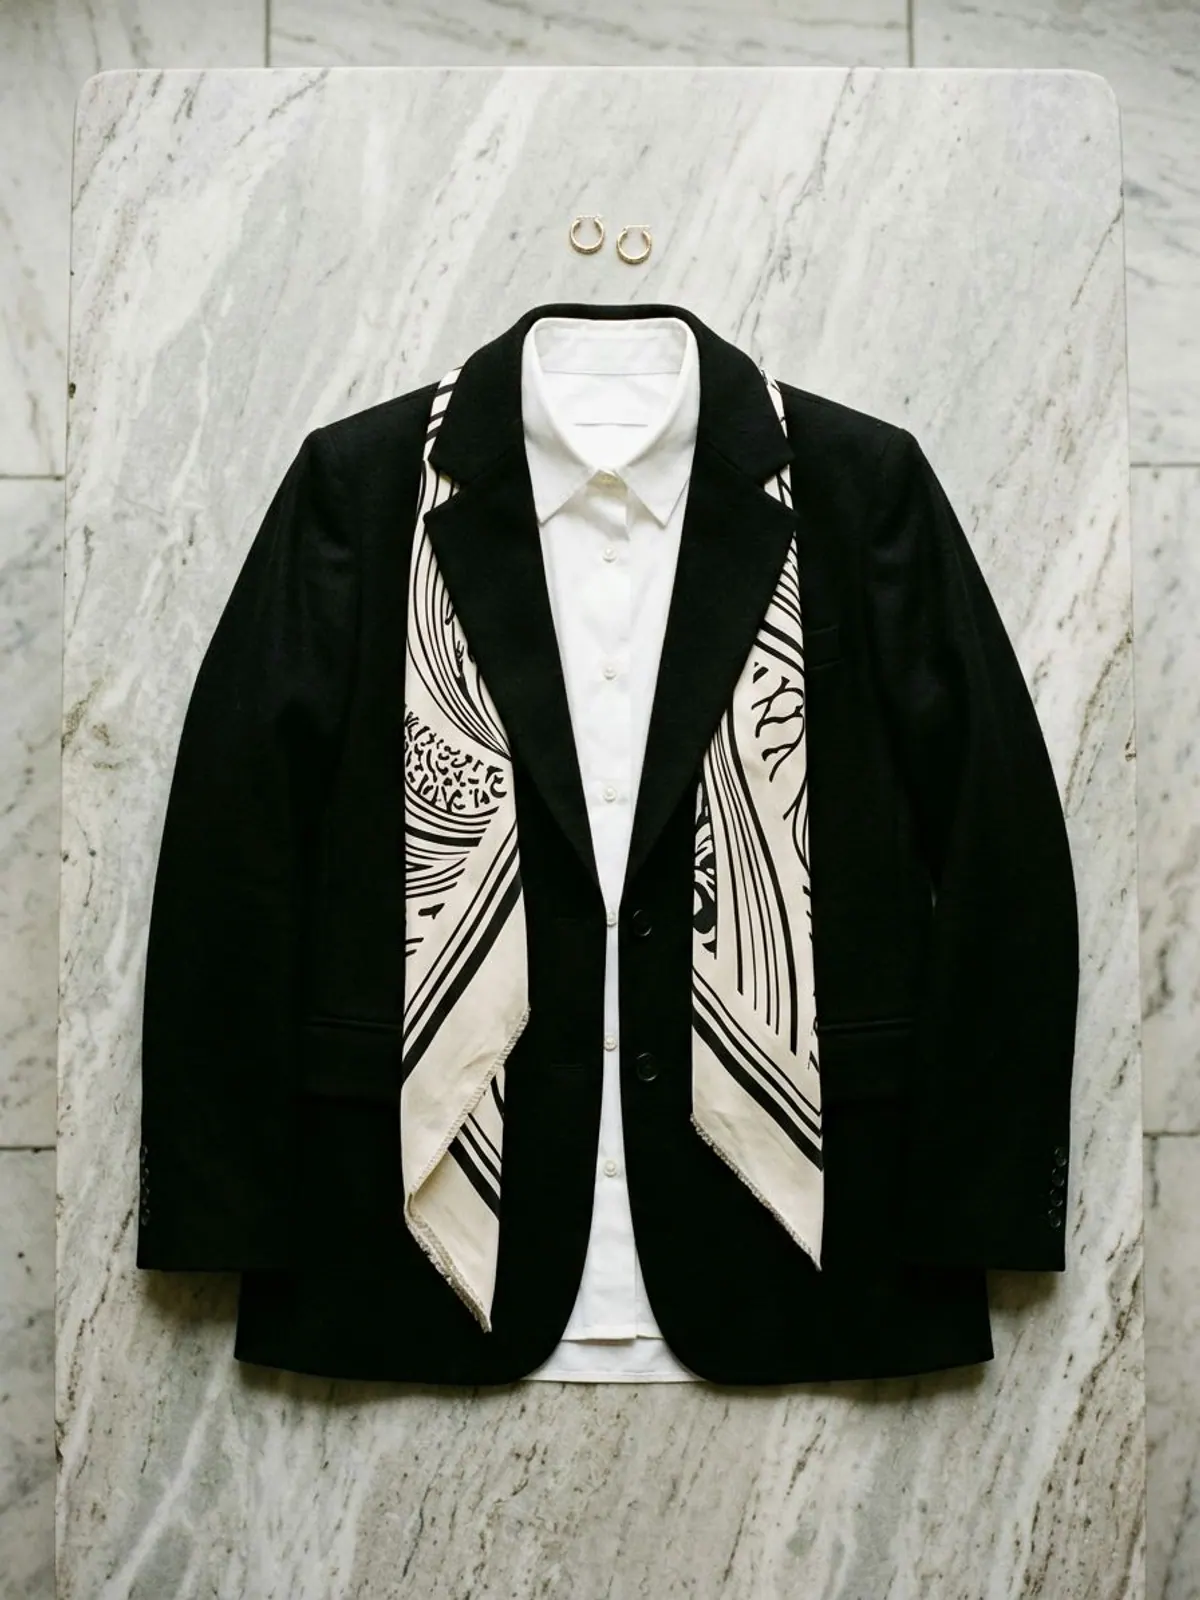
1With a shirt: the open-collar sliding knot
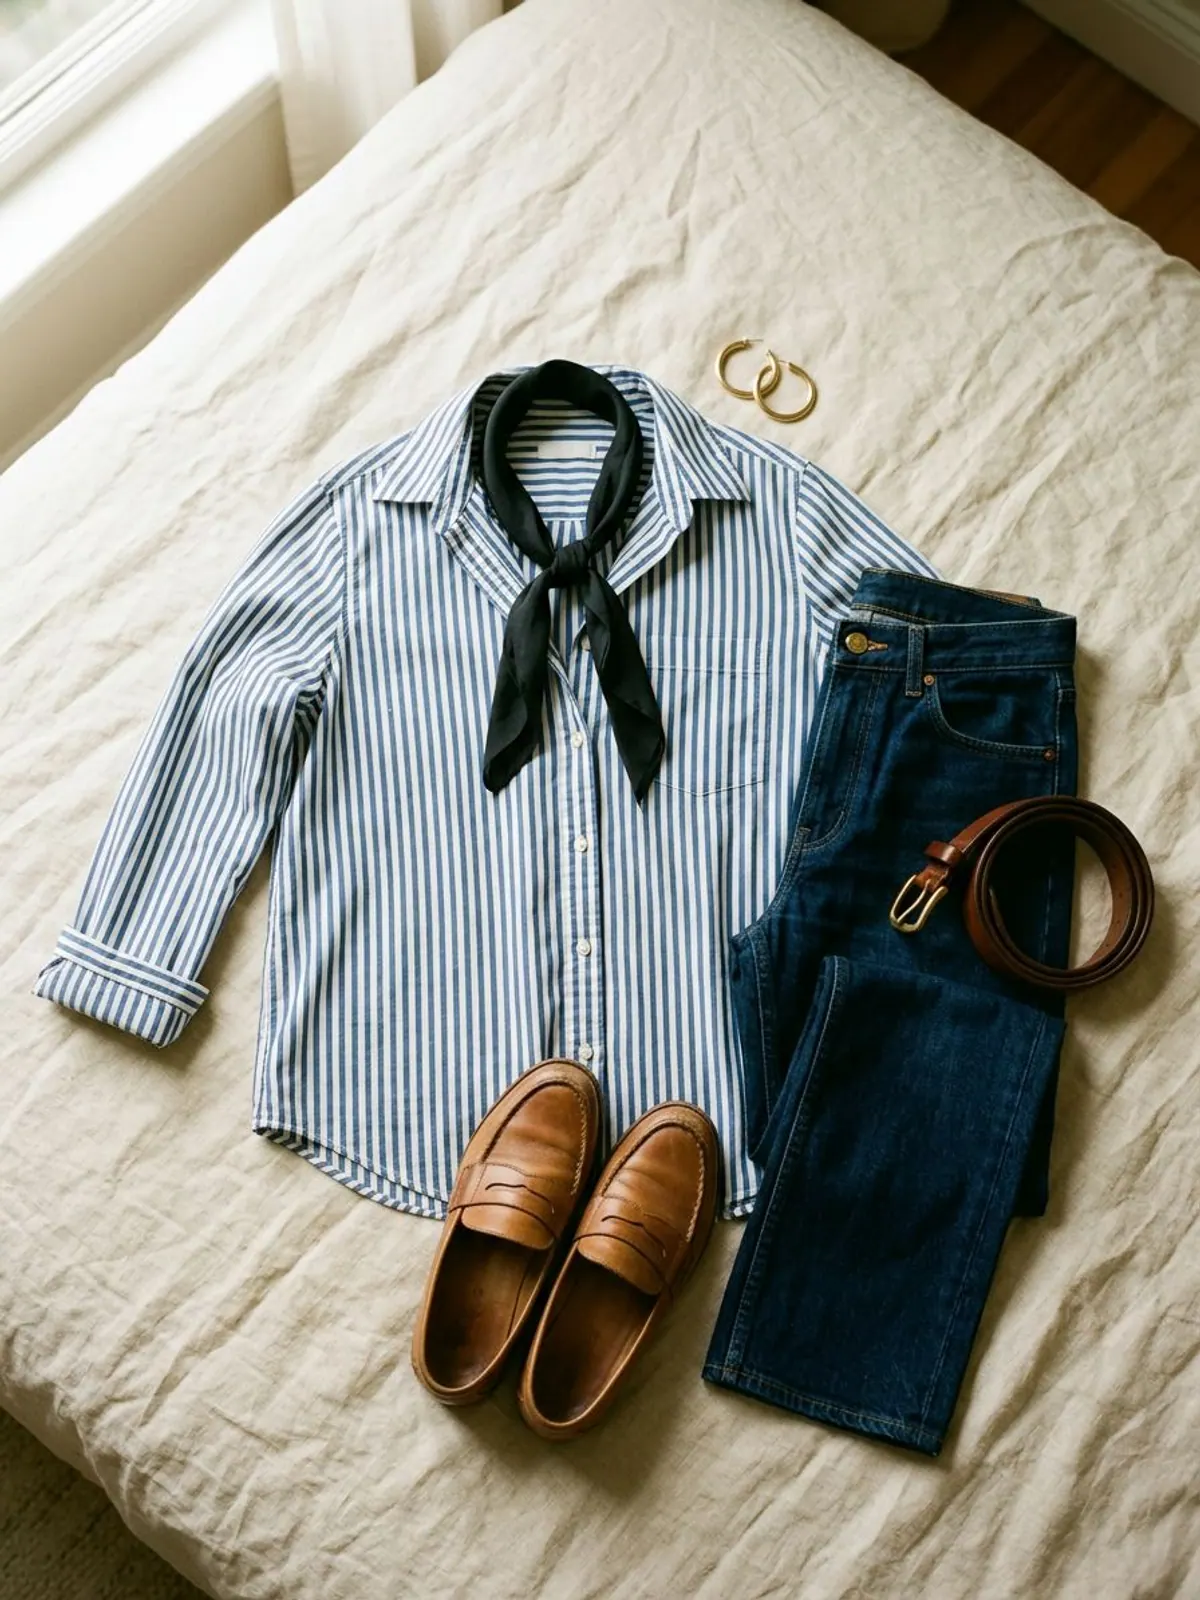
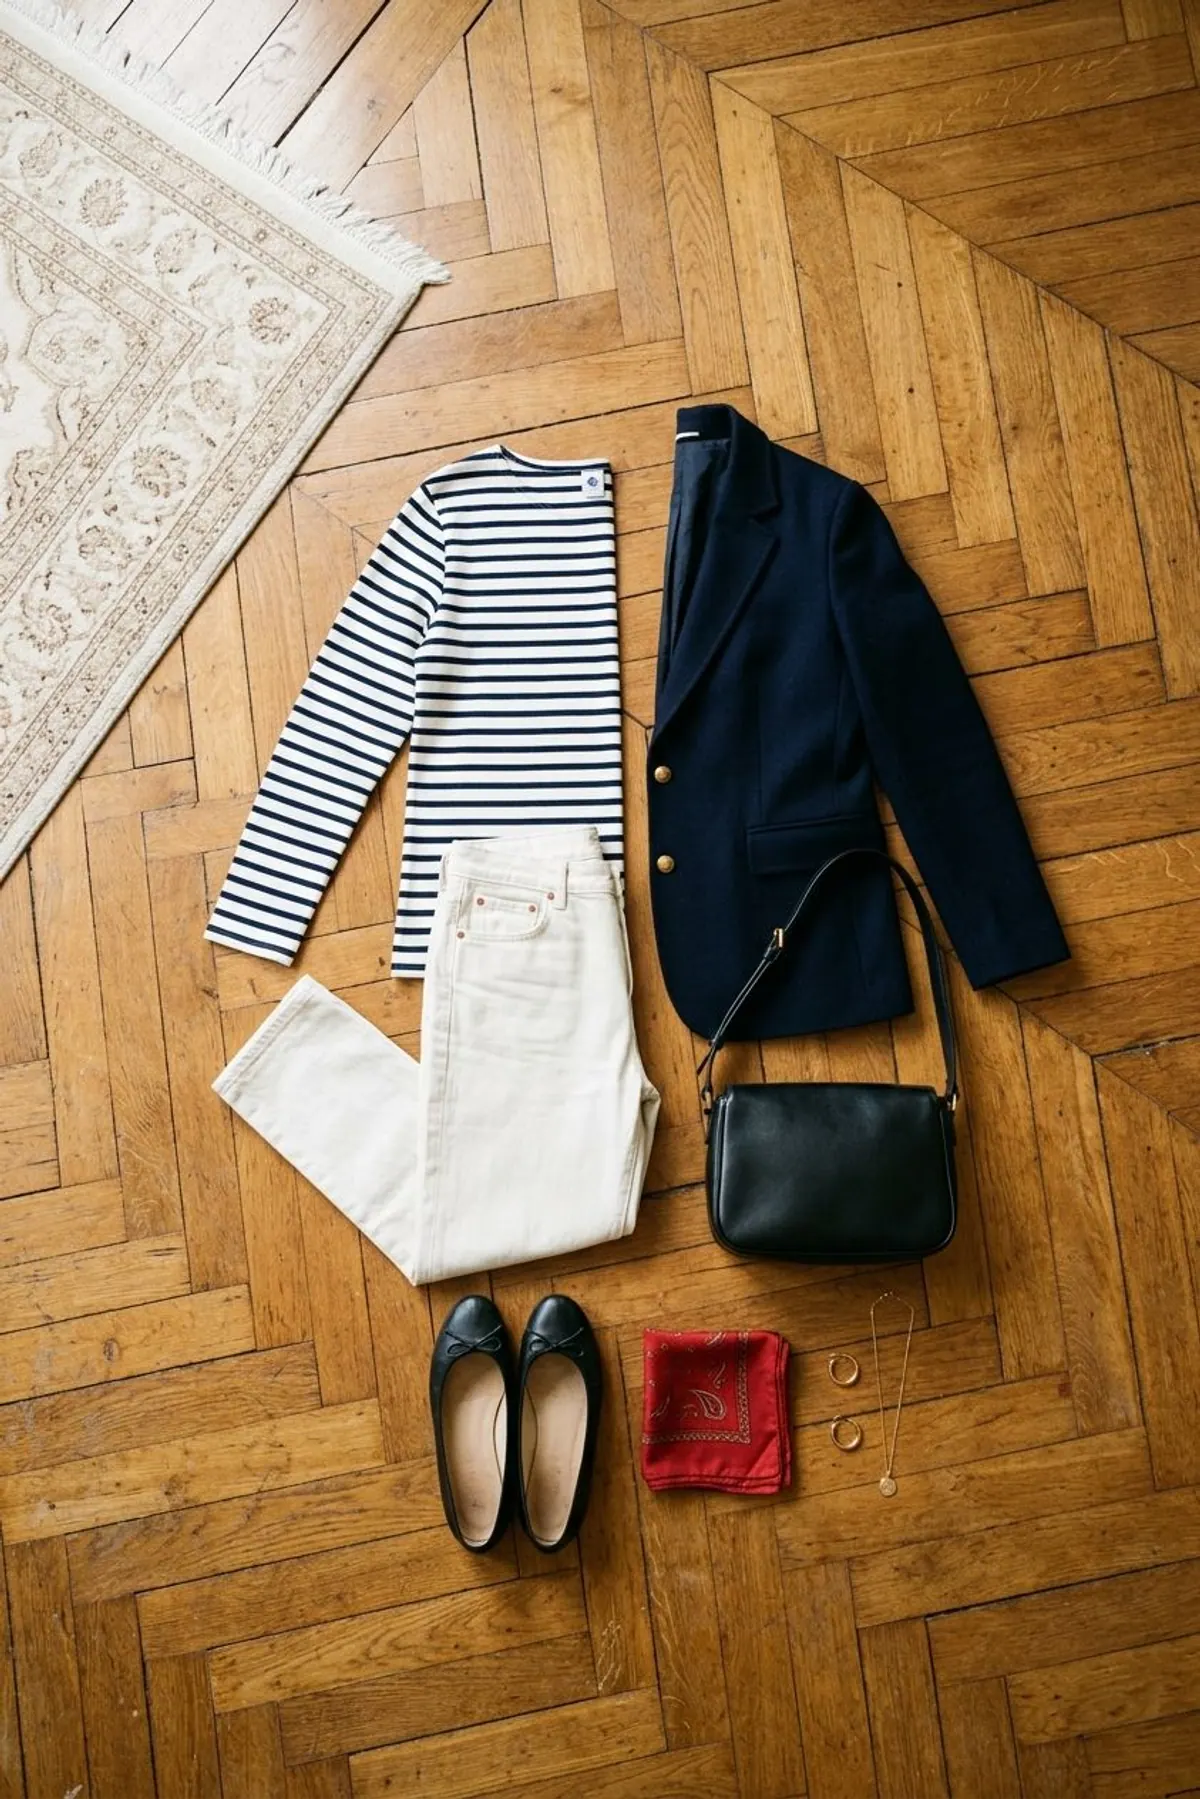
The formula: striped or white button-down, top two buttons open + skinny silk oblong in a sliding knot (way 6) + dark straight jeans + loafers.
Why it works: The knot sits inside the collar, so it reads like part of the shirt instead of an add-on. Keep the scarf narrow, 4 inches or less, so it does not fight the collar points.
Tip: Choose a scarf that picks up one color already in the shirt.
The narrow width is what makes the sliding knot sit flat in a shirt collar.
2For work: the scarf ring over a fine knit
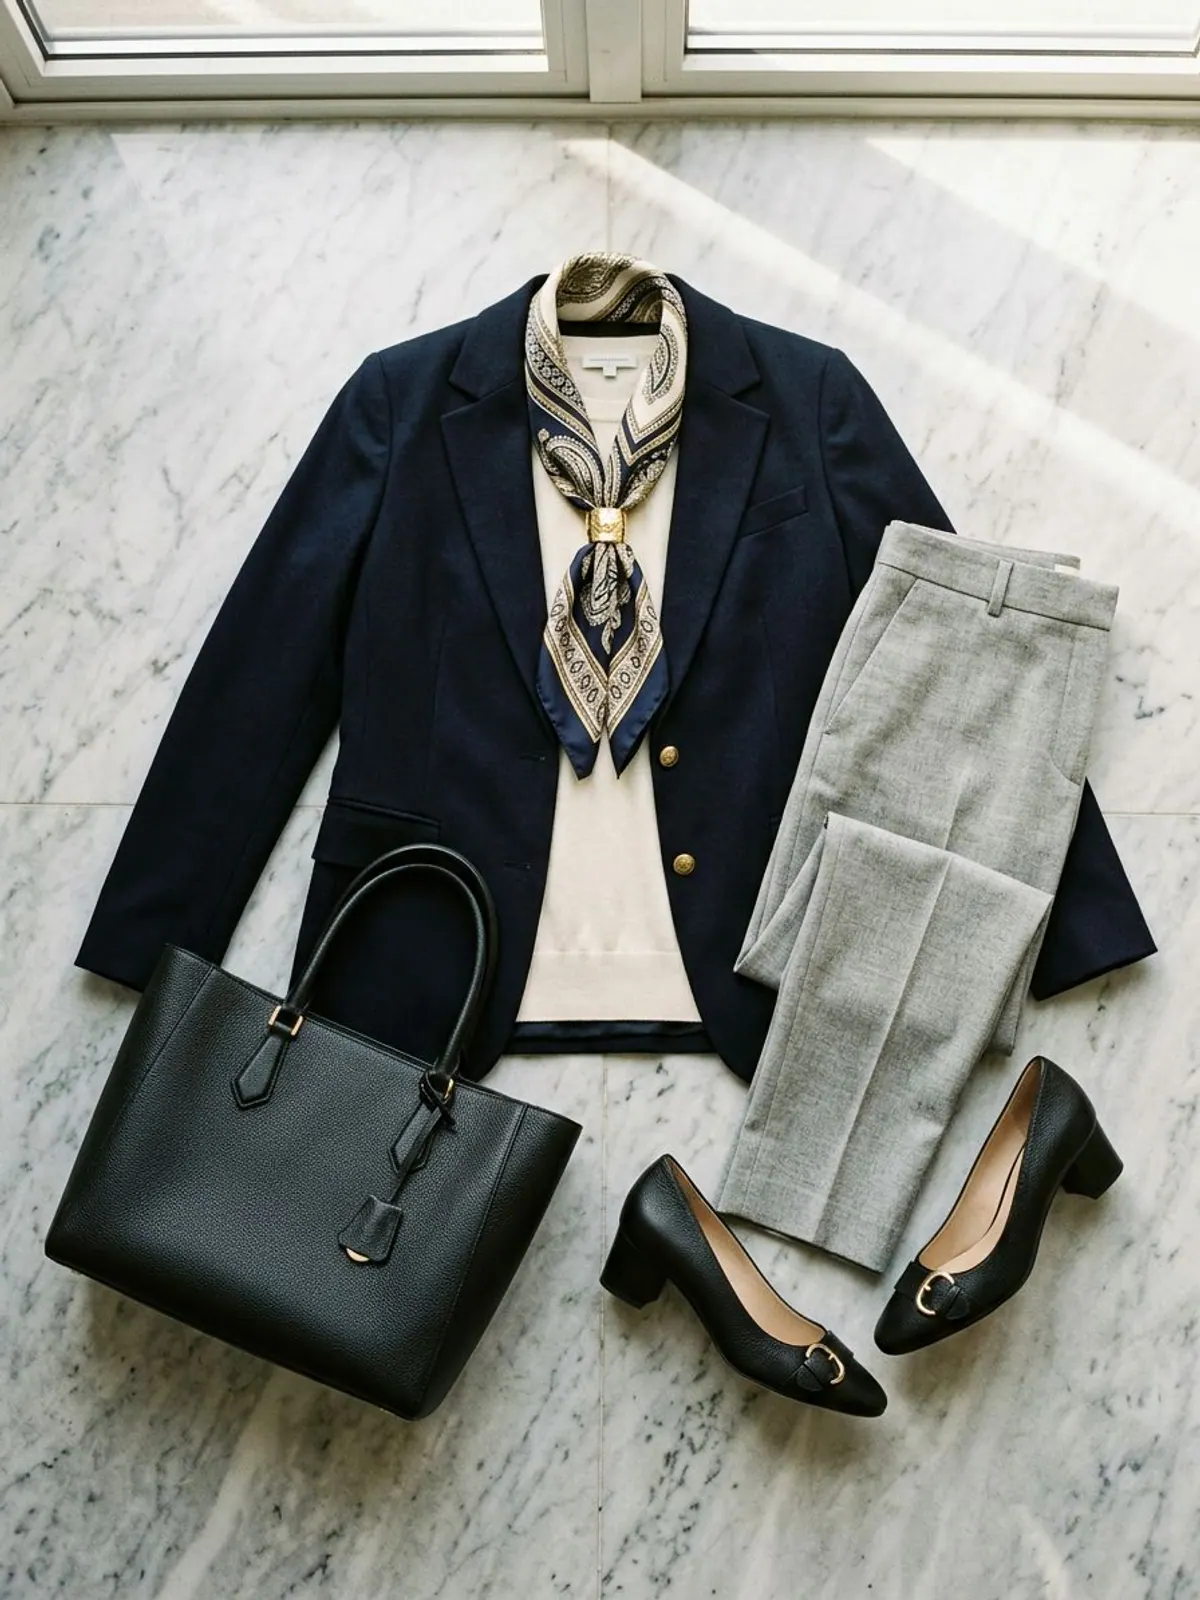
The formula: cream fine-knit top + printed silk square through a gold scarf ring (way 4) + navy blazer + grey trousers + low pumps.
Why it works: A ring holds through a full day of meetings, the print adds color near the face, and there is no knot to flatten under a blazer lapel. The business casual rules cover the rest of the outfit.
Tip: Slide the ring down so the fan of silk sits just above the blazer button.
A 35-inch square gives enough length to fan below the ring over a blazer.
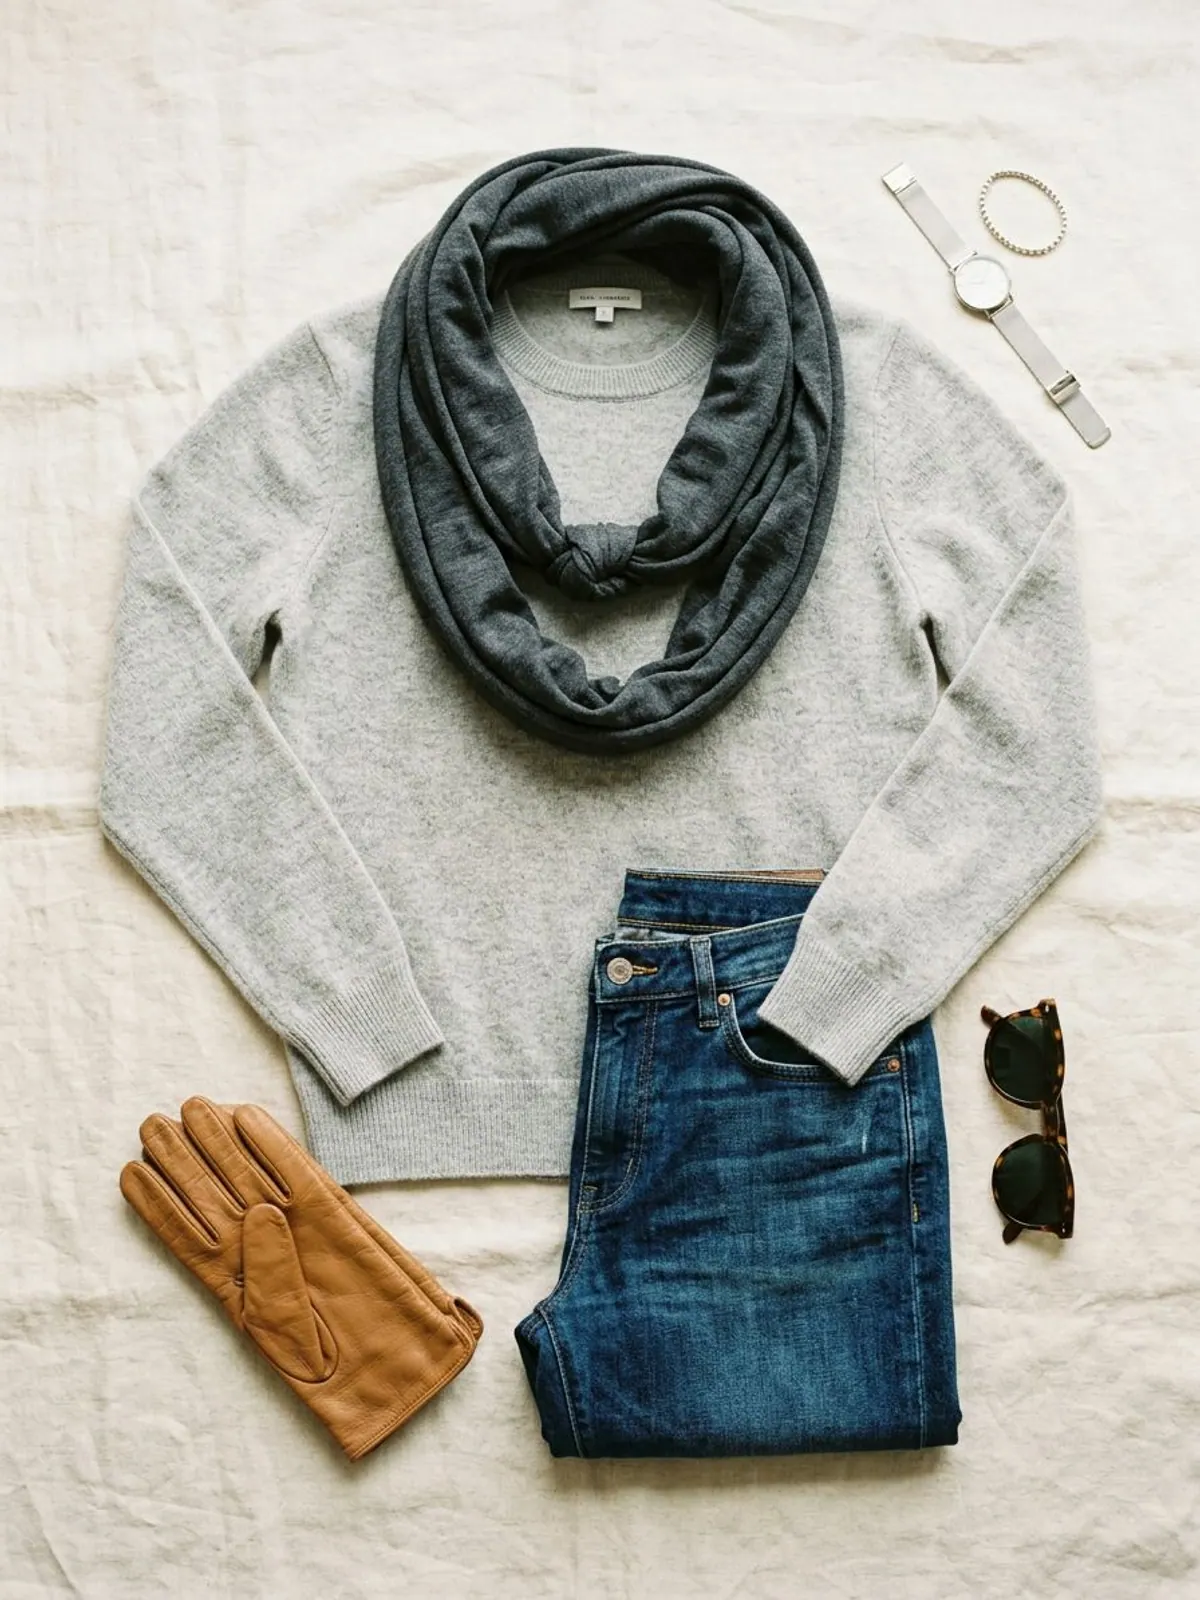
3For a winter coat: the coat tuck plus a loop
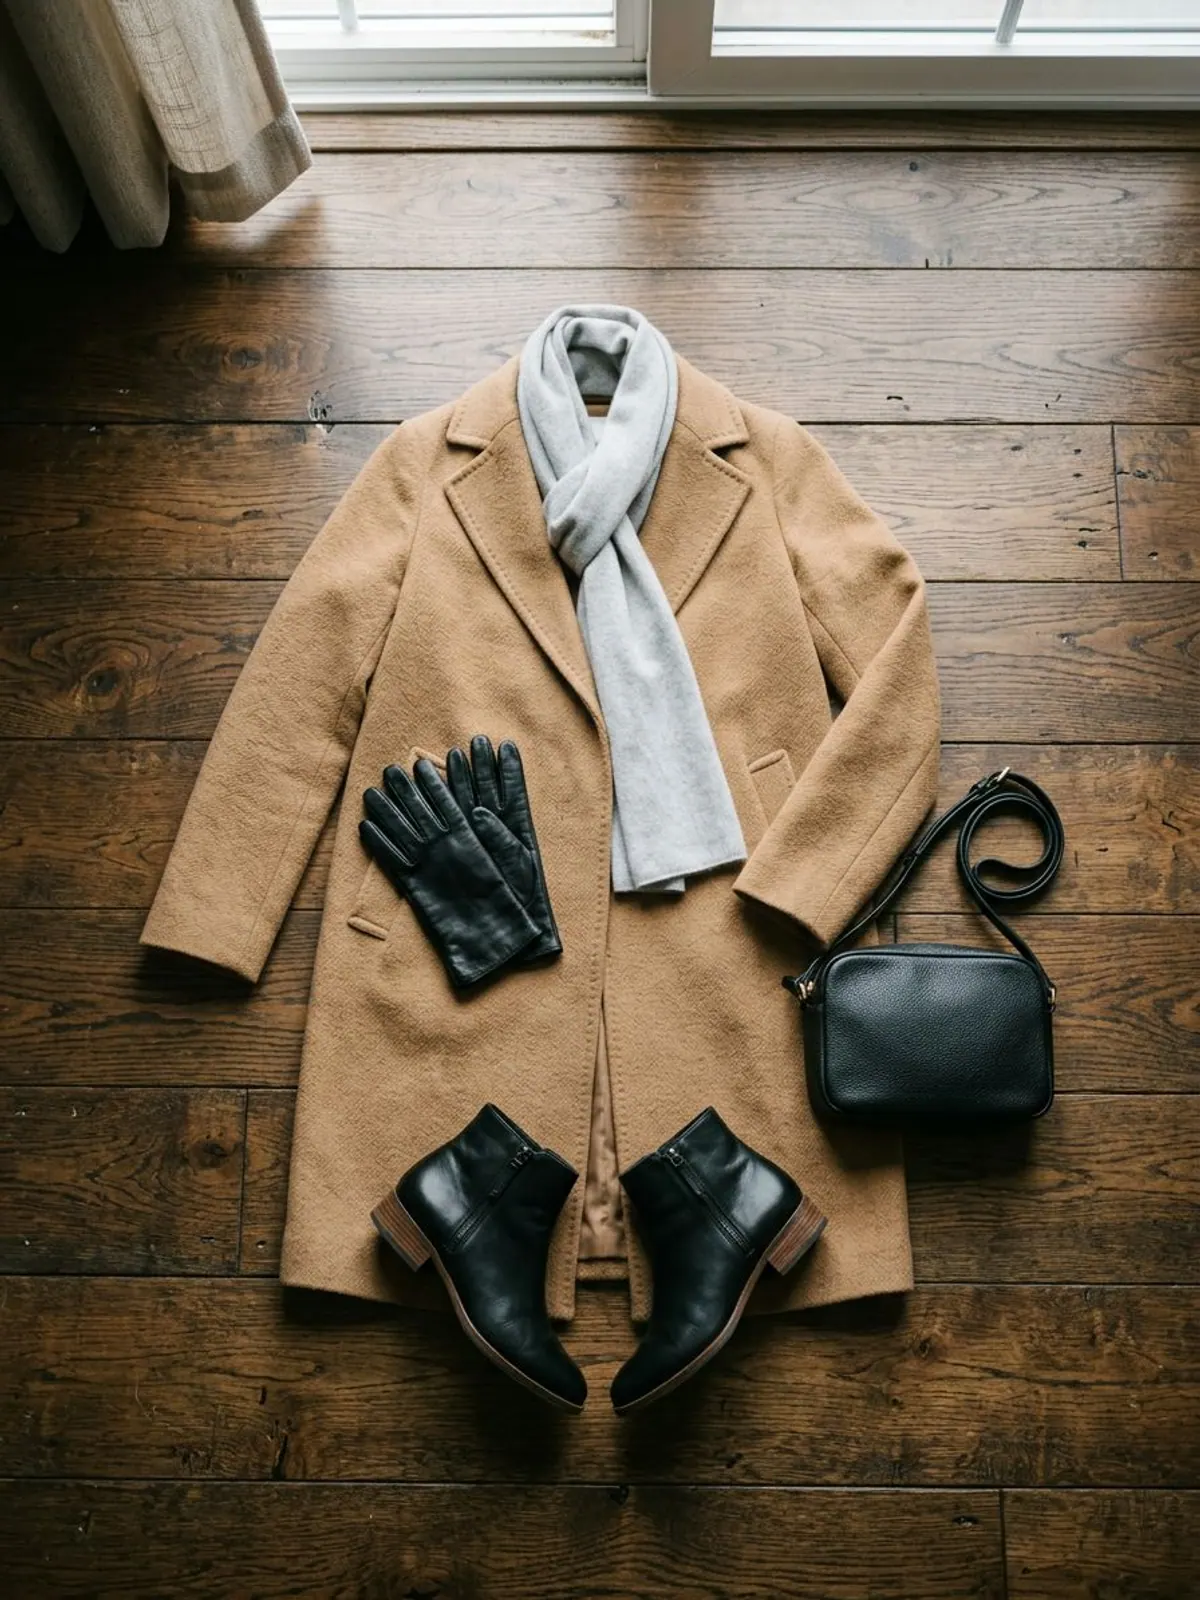
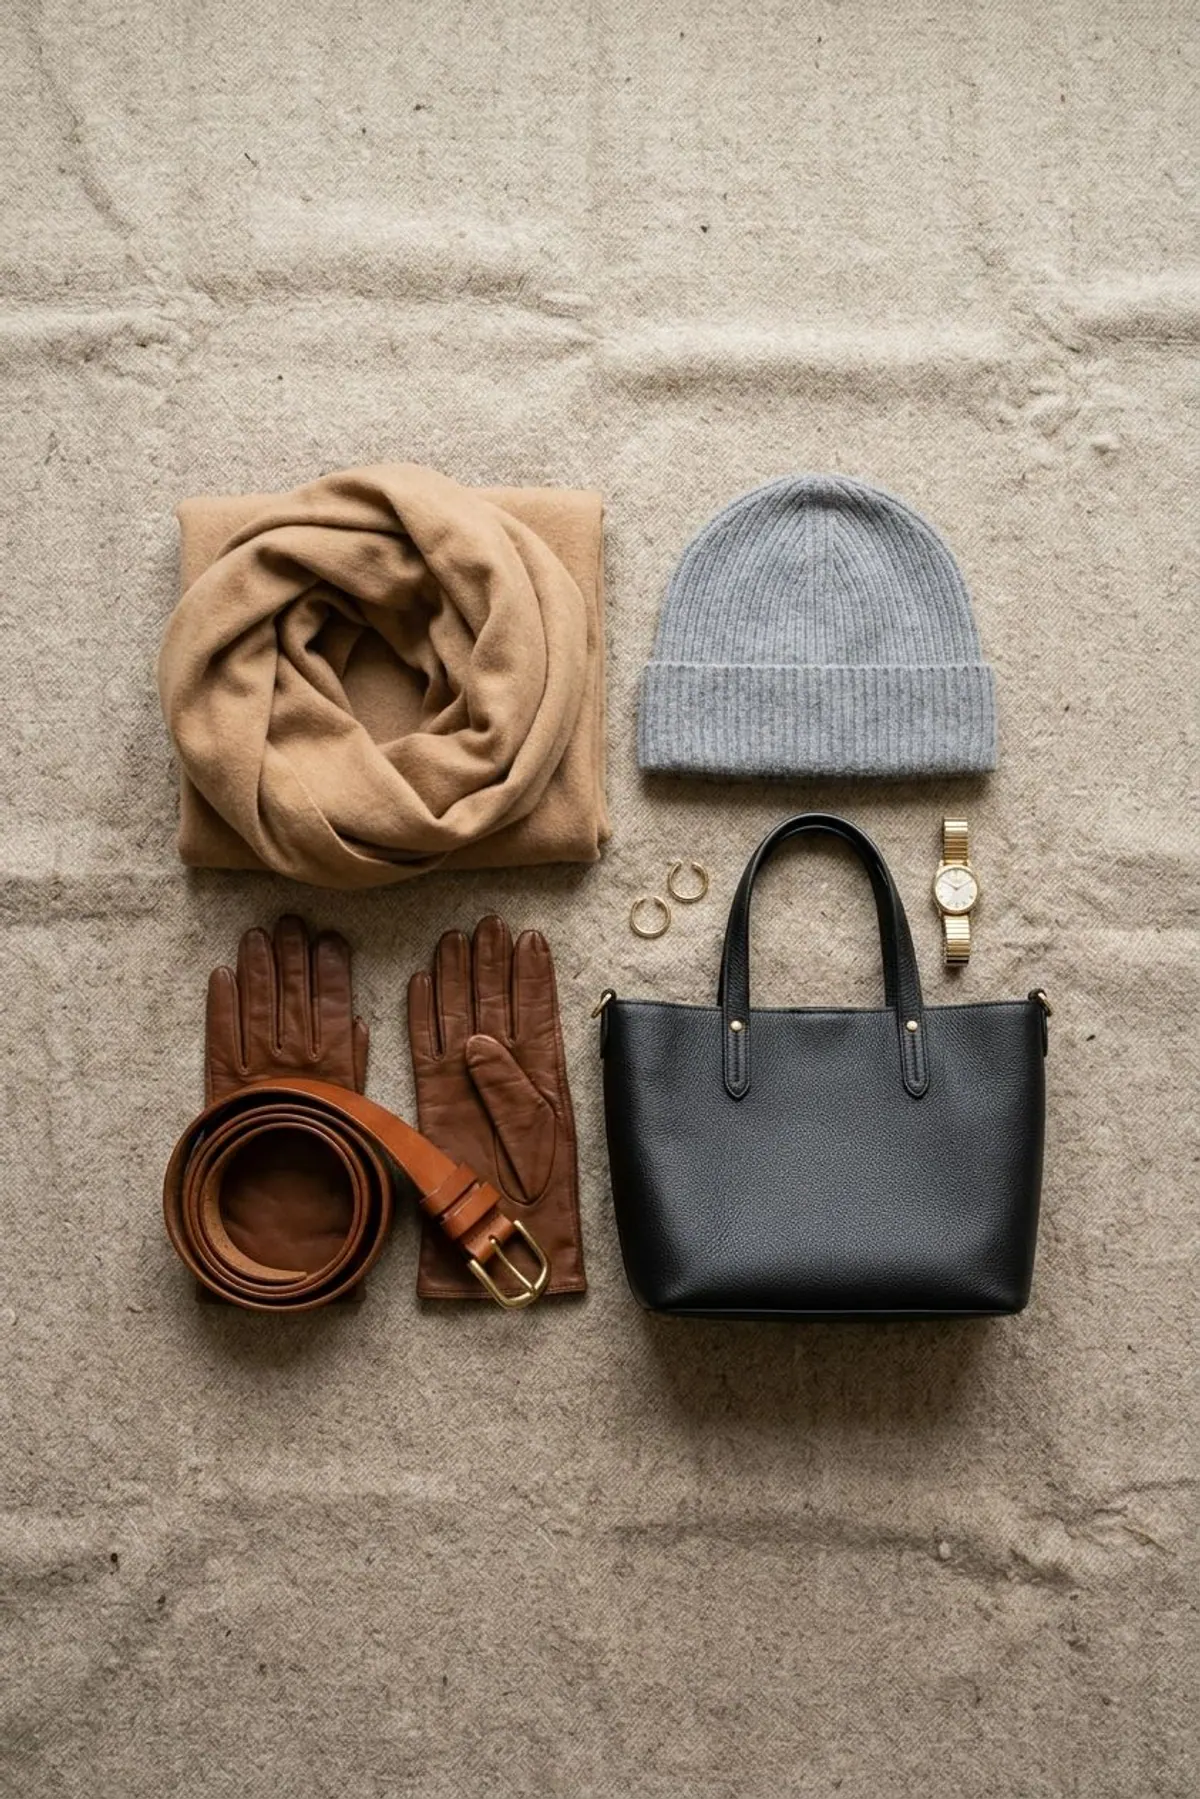
The formula: cashmere or lambswool rectangle crossed at the neck and tucked under the lapels (way 10) + camel or navy coat + leather gloves + ankle boots.
Why it works: The scarf covers the gap at the collar, lies flat under the lapels, and the coat does the holding. On the coldest days, switch to the once-around loop (way 9) over the collar.
Tip: A scarf in the same tone as the coat looks the most expensive; a contrast scarf looks the most cheerful. Both are right.
Thin enough to cross and tuck under a coat lapel, warm enough for January.
The 30-second scarf check before you leave
Make the Scarf Part of a Formula
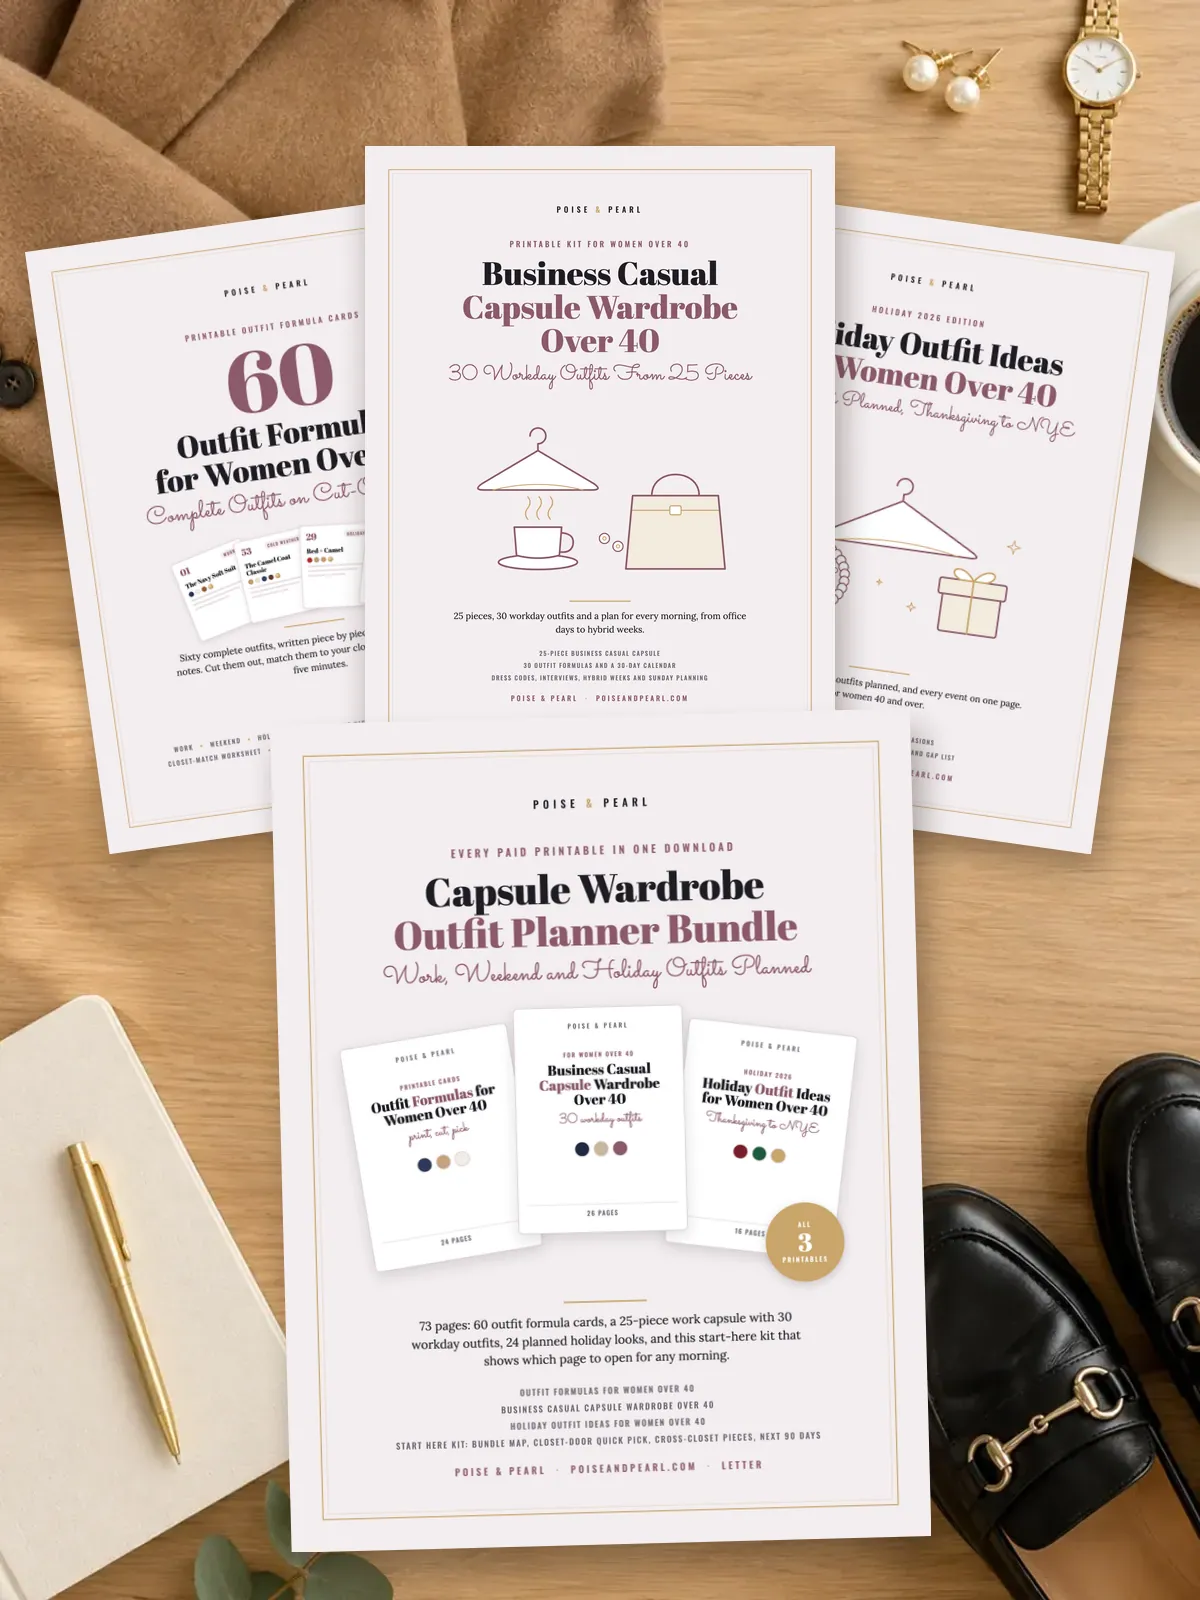
A scarf is the cheapest way to make the same sweater and jeans look like a different outfit. The Style Vault bundle has 60 outfit formulas on cut-out cards, plus the work and holiday planners, so each of these 10 ways has a complete outfit to land on. If you are shopping for a scarf lover, the Christmas gifts guide has the scarf ring and the cashmere picks in one place.
And if you want the free version first, the 30-piece capsule checklist below includes the three scarf shapes in this guide, so you can see where they fit in a full wardrobe.
Frequently asked questions
What is the easiest way to tie a scarf around your neck?
The simple drape (way 5): hang a long scarf around your neck with uneven ends and let a blazer or coat hold it. The once-around loop (way 9) is the easiest for a wool scarf; fold it in half, drape it and pull the ends through the loop.
How do you tie a silk scarf around your neck so it stays put?
Fold the square into a flat 2-inch band first, then use the pretzel knot (way 2) or a scarf ring (way 4). Both hold without being tight. A small safety pin on the inside of a bow or a coat tuck keeps slippery silk from sliding.
How do you tie a scarf around your neck with a shirt?
Open the top two buttons and tie a skinny silk scarf in a sliding knot (way 6) so the knot sits in the open collar, or fold a small square into a triangle and tie the cowboy knot (way 3) at the back of your neck over the collar.
Can women over 40 wear a scarf around the neck?
Yes. The scarf is not the issue; the size of the knot is. Keep knots small and off center, choose a way that matches the neckline, and skip a necklace the same day so the collarbone has one focal point.
What size scarf do I need for each knot?
A 27 to 36-inch square for the side bow, pretzel, cowboy and scarf-ring ways; a 60 to 80-inch oblong for the drape, sliding knot, infinity loop and fake knot; a 70-inch wool rectangle for the once-around loop and the coat tuck.
How do you tie a wool scarf around your neck without bulk?
Fold it in half lengthwise first so it is narrow. Then use the once-around loop over a collarless coat, or cross it at the front and tuck it under the lapels of a fitted coat (way 10). Never tie a thick knot over a turtleneck.
Save it for later
Pin this to your Accessories board so it's there when you need it.
Save to Pinterest